Fabric Scrap Pumpkins in Three Sizes
Gathered fabric pumpkins made from a plain rectangle: sew a tube, gather both ends, stuff, then wrap thread over the outside to shape the sections. Cutting sizes for small, medium and large.
Project at a glance
Materials
- Fabric rectangles twice as long as they are tall
- Strong thread for gathering
- Embroidery floss, pearl cotton or thin twine for the sections
- Long needle with a large eye
- Polyester fiberfill or scrap stuffing
- Short sticks or corks for stems
- Green felt scrap for leaves
- Craft glue or low-temperature glue gun
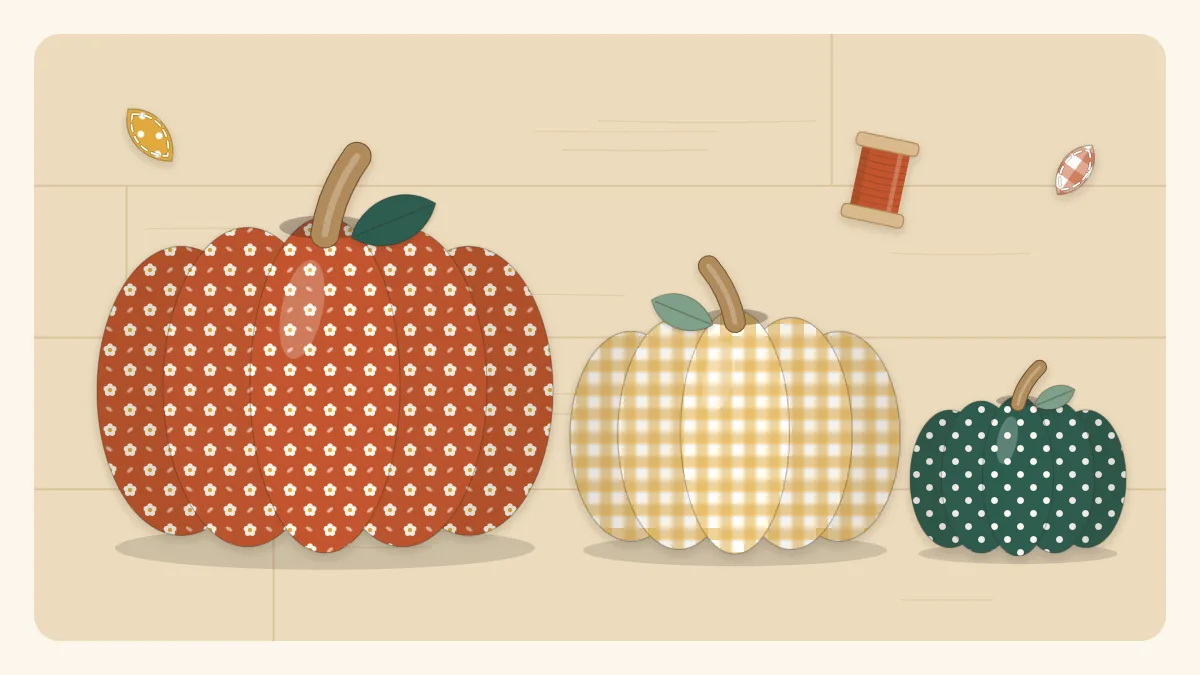
A pumpkin is one of the most forgiving shapes to sew. There is no template, no curve to stitch and no turning through a tiny gap: fabric scrap pumpkins start as a plain rectangle, become a tube, and are gathered shut at both ends. Lumps and uneven gathers only make them look more like the real thing. Three sizes grouped together fill a shelf or a table center, and the largest needs a piece of fabric no bigger than 8 x 16 inches.
The one rule: twice as long as it is tall
Every pumpkin here is cut from a rectangle whose long side is twice its short side. The short side becomes the height of the tube, and the long side wraps around to form the body. Keep that proportion and you can make a pumpkin from whatever scrap you have.
| Size | Cut rectangle | Finished pumpkin (approx.) |
|---|---|---|
| Small | 4 x 8 in (10 x 20 cm) | 2.5 in (6.5 cm) across |
| Medium | 6 x 12 in (15 x 30 cm) | 3.5 in (9 cm) across |
| Large | 8 x 16 in (20 x 40 cm) | 5 in (13 cm) across |
Finished sizes vary with how firmly you stuff and how tightly you pull the sections, so treat them as a guide.
Materials
- Fabric rectangles in the sizes above. Quilting cotton, flannel, linen and lightweight corduroy all work.
- Strong thread for gathering: buttonhole thread, hand quilting thread or doubled all-purpose thread
- Embroidery floss, pearl cotton or thin twine for the sections, about 2 yards (1.8 m) for a medium pumpkin
- A long needle with an eye large enough for the floss; a doll needle or long darning needle is ideal for the large size
- Polyester fiberfill, or scrap stuffing for a heavier pumpkin
- Stems: short sticks about 1.5 to 2 inches (4 to 5 cm) long, or wine corks
- A scrap of green felt for leaves
- Craft glue or a low-temperature glue gun
No single piece long enough? Sew shorter scraps side by side with 1/4-inch seams until the strip reaches the length in the table, press the seams open, and trim the panel to size. Vertical joins disappear into the gathers and can even stand in for section lines.
How to sew a gathered fabric pumpkin
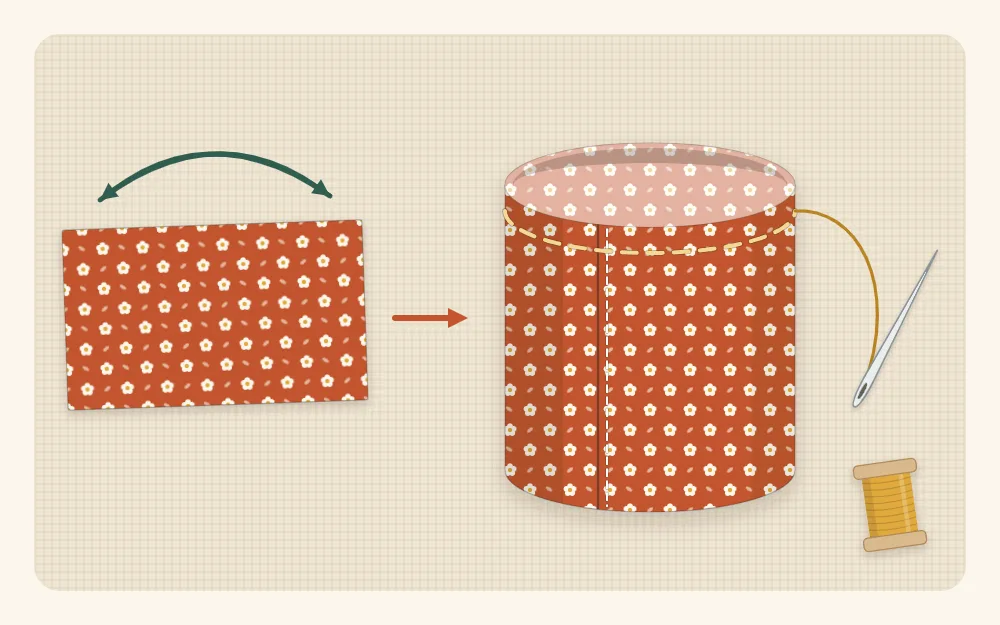
- Sew the tube. Fold the rectangle in half, right sides together, so the two short edges meet. Sew those short edges together with a 1/4-inch (6 mm) seam, backstitching at both ends. You now have a tube, wrong side out.
- Gather the bottom. Thread a hand needle with strong thread, doubled and knotted. Sew a running stitch around one open end of the tube, 1/4 inch (6 mm) from the raw edge, with stitches about 1/4 inch long. When you get back to the start, pull the thread to draw the opening tightly closed. Take several stitches back and forth across the gathered center and knot off securely.
- Turn. Turn the tube right side out, so the gathered raw edges are hidden inside. This is the bottom of the pumpkin.
- Stitch the top. Sew the same running stitch around the remaining open end, 1/4 inch (6 mm) from the edge, but do not pull it up yet. Leave the needle and thread attached.
- Stuff. Fill the pumpkin firmly. It should be full enough to stand up on its own but still give when you press on it, because the section threads need something to sink into.
- Close the top. Pull the gathering thread to draw the top closed, tucking the raw edges down inside as you go. A small opening about the width of a finger is fine; the stem will cover it. Stitch across the opening a few times and knot off.
Tip
Small, close running stitches make many fine gathers; longer stitches make fewer, deeper folds. Stitches about 1/4 inch (6 mm) long suit all three sizes. Use a thread you cannot snap easily with your hands, since gathering puts real strain on it.
Shaping the sections
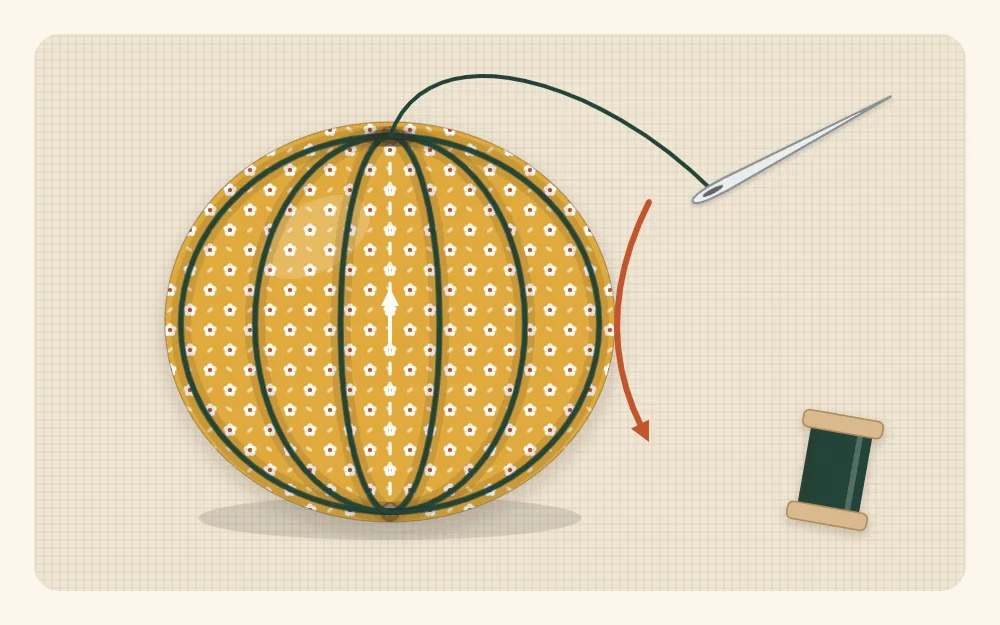
At this stage you have a soft ball. Wrapping thread over it pulls in the ridges that make it a pumpkin.
- Cut about 2 yards (1.8 m) of floss for a medium pumpkin, a little less for the small and more for the large. Thread the long needle and knot one end.
- Push the needle in at the center of the bottom and out through the center of the top. Tug so the knot sinks into the bottom gathers.
- Carry the floss down the outside of the pumpkin to the bottom, push the needle in at the bottom center again and bring it out at the top. Pull until the floss bites into the stuffing and forms a groove.
- Repeat, placing the next wrap directly opposite the first, which divides the pumpkin in half. Then add wraps between those, spacing them evenly, until you have six sections.
- Finish with the needle at the bottom, take two small stitches into the gathers and knot off.
Stem and leaf
- Stick stem: choose a dry twig about as thick as a pencil and cut it to 1.5 to 2 inches (4 to 5 cm). Put a generous dab of glue on one end and push it into the top opening.
- Cork stem: glue the flat end of a cork over the top gathers. A cork suits the medium and large sizes; a cork cut in half across suits the small one.
- Felt leaf: cut a simple pointed leaf about 1.5 inches (4 cm) long from green felt. Pinch the base to give it a fold and glue or stitch it beside the stem.
A short curl of fabric twine tied around the base of the stem makes a convincing tendril.
Watch out
Glue guns and their glue can burn; set the gun on a heatproof surface and keep fingers clear of the nozzle. Fabric pumpkins are decorations, and their stems and leaves can come loose, so keep them away from children under three and from pets that chew.
Common mistakes
- Understuffing. A half-filled pumpkin collapses when the sections are pulled in. Add more than seems necessary.
- Gathering thread that breaks. Use doubled or heavy thread and pull steadily rather than in jerks.
- Wraps that wander. If the floss slides sideways, the sections come out uneven. Hold each wrap in place with a thumb while you pull the next one snug.
Variations
- Patchwork pumpkin. Piece the rectangle from six equal vertical strips and run the section wraps along the seams.
- Weighted base. Fill the bottom third with finely cut trimmings so the pumpkin sits steadily; the guide to using tiny fabric scraps explains how to prepare them as stuffing.
- Autumn display. Set a group of pumpkins beneath a scrap fabric bunting in the same rust, mustard and green prints.
Frequently asked questions
What size fabric do I need for a fabric pumpkin?
Any rectangle that is twice as long as it is tall. A 4 x 8 inch piece makes a pumpkin about 2.5 inches across, 6 x 12 inches makes one about 3.5 inches across, and 8 x 16 inches makes one about 5 inches across.
Can I make fabric pumpkins without a sewing machine?
Yes. The only seam is the short one that joins the rectangle into a tube, and it can be sewn by hand with a small backstitch. The gathering and the section wraps are done by hand in any case.
How do I get the sections on a fabric pumpkin?
Thread a long needle with floss or thin twine, pass it up through the center from bottom to top, carry it down the outside and go up through the center again, pulling snugly. Repeat until evenly spaced wraps divide the pumpkin into six sections.
What can I use for a pumpkin stem?
A dry stick 1.5 to 2 inches (4 to 5 cm) long glued into the top opening, or a wine cork glued over the gathers. A rolled strip of felt or a short piece of thick twine also works.