What to Do With Tiny Fabric Scraps
Practical uses for the smallest remnants and trimmings, from crumb piecing and confetti fabric to stuffing and mending patches, plus how to tell when a piece is too small to keep.
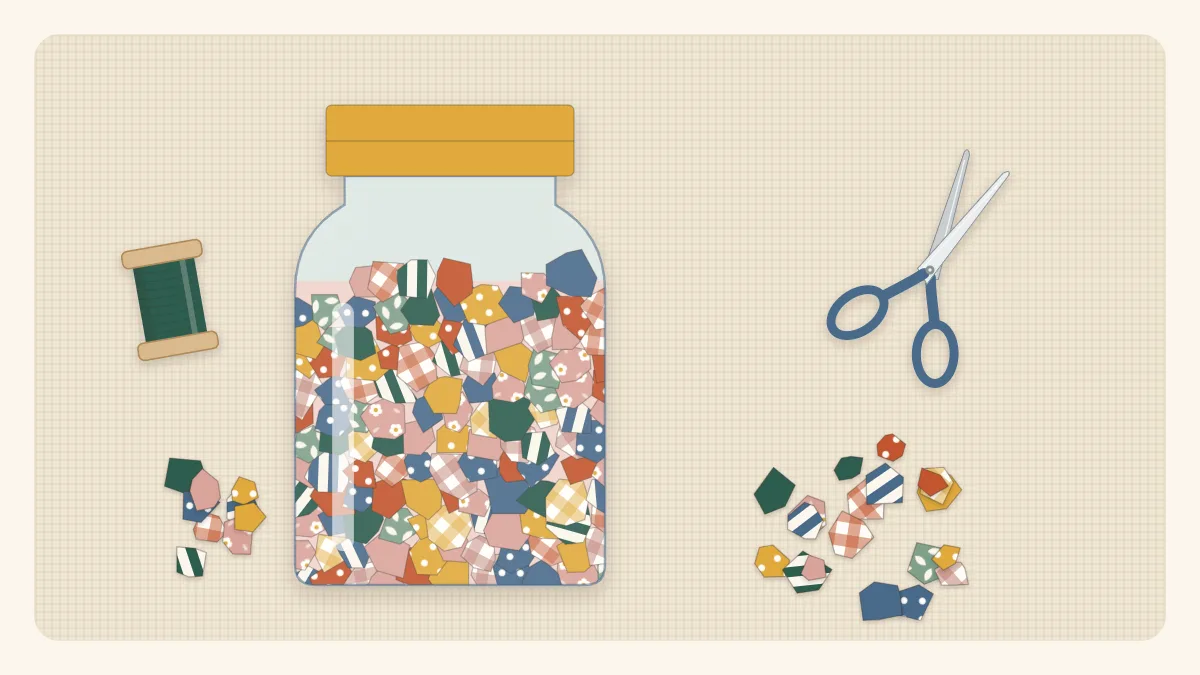
Every cutting session leaves a little drift of trimmings behind: slivers from squaring up a block, selvage edges, corners snipped from a seam, the last inch of a favorite print. If you have ever wondered what to do with tiny fabric scraps like these, the answer depends on their size and condition. Some pieces can be sewn back into usable fabric, some are better as filling, and some are honestly too small to bother with.
First, decide what counts as tiny
A quick size check saves a lot of frustration later. A standard patchwork seam uses 1/4 inch (6 mm) on each side, so a piece that is 1 inch (2.5 cm) wide shows only 1/2 inch (1.3 cm) once it is sewn in. That is about the practical lower limit for piecing.
| Size of piece | Best use |
|---|---|
| 1.5 to 2.5 inches (4 to 6.5 cm) across | Crumb piecing, small appliqué shapes, mending patches |
| About 1 inch (2.5 cm) across | Crumb piecing with care, tiny appliqué, confetti fabric |
| Under 1 inch (2.5 cm), slivers, selvages | Confetti fabric, stuffing |
| Thread snips and frayed bits | Stuffing only |
Keep two small containers near the cutting mat, one for pieces that can still be sewn and one for everything else. If the rest of the bin needs attention too, the guide to sorting fabric scraps by size covers the bigger picture.
Sew crumbs into new fabric
Odd-shaped pieces from about 1 inch (2.5 cm) upward can be joined into a patchwork panel with no pattern at all. Sew two crumbs together along any straight edge, press the seam to one side, trim the pair so it has a straight edge again, and add the next piece. Keep going until the panel is large enough to trim into a square.
The result is a busy, cheerful piece of “made” fabric that can stand in for a plain square in coasters, pouches, pincushion tops or quilt blocks. The full method, including pressing and trimming to size, is in the crumb quilting blocks tutorial.
Use trimmings as stuffing
Slivers, selvage strips and thread snips make a dense, slightly heavy filling. It will never be as soft or springy as polyester fiberfill, but that weight is useful in the right project.
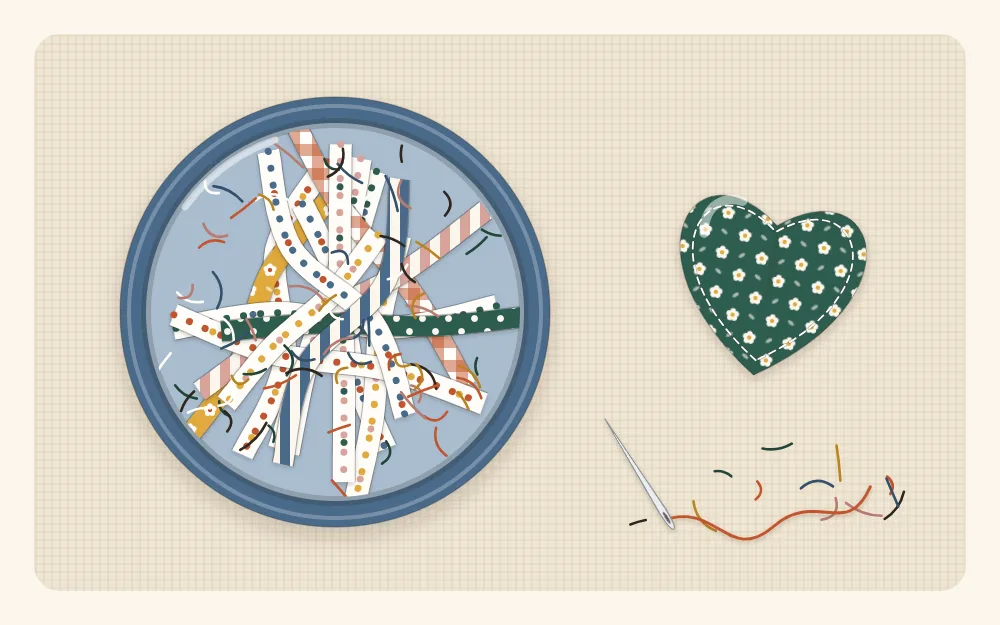
- Good uses: pincushions, doorstops, draft stoppers, pattern weights and decorative shapes that benefit from some heft.
- Less suitable: soft toys meant to be squashy, and anything washed often. A dense wad of cotton trimmings dries slowly and can clump.
To keep the filling from feeling lumpy, snip long strips into pieces shorter than 1 inch (2.5 cm) before using them, and pack the shape a little at a time, pushing filling into the corners with a chopstick or the blunt end of a pencil. A scrap fabric pincushion is a good first project for a jar of trimmings.
Make confetti fabric under tulle
Pieces too small to seam can still become a flat, usable textile if they are trapped between two layers and stitched down. The simplest version uses a base fabric and a layer of fine tulle.
- Cut a base of plain cotton or muslin a little larger than the piece you need, for example a 7-inch (18 cm) square for a 6-inch (15 cm) finished panel. Stitching draws the layers in slightly, so the extra margin matters.
- Scatter small bits over the base in an even layer, right side up where it matters. Snip larger pieces down so nothing is much bigger than a thumbnail. A few dabs of washable glue stick on the base help hold everything in place.
- Lay fine tulle over the top and pin through all layers every couple of inches.
- Stitch across the whole panel in straight or gently wavy lines no more than 1/2 inch (1.3 cm) apart, then cross them in the other direction to form a grid. Every bit should be caught by at least one line of stitching.
- Trim the panel to size.
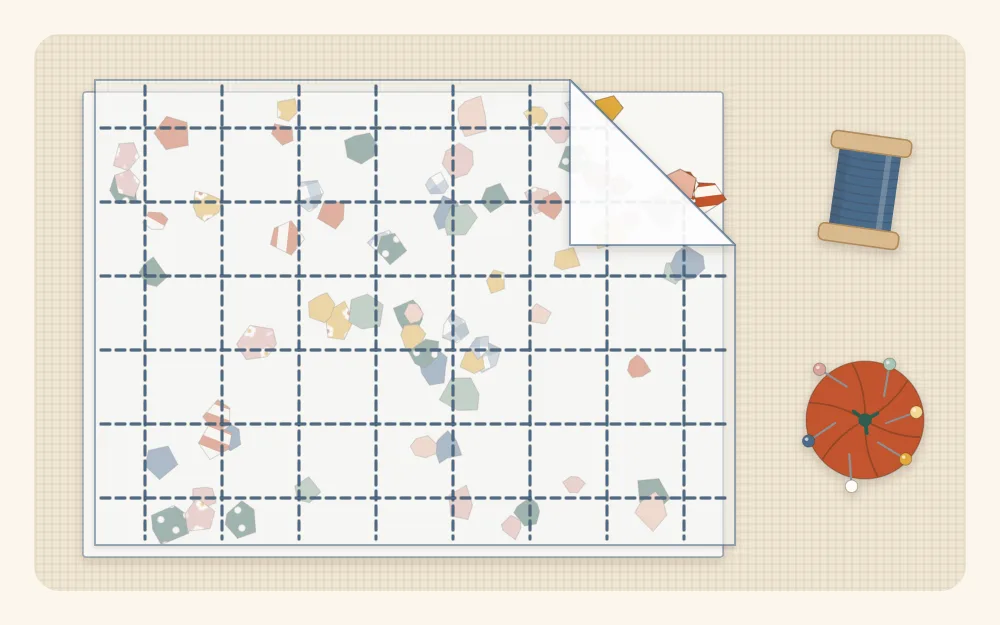
Confetti panels work well as pouch fronts, bookmark faces, coaster tops and greeting card inserts.
The water-soluble stabilizer version
For a lacy, open fabric, sandwich the bits between two sheets of water-soluble stabilizer instead. In this version the stitching is the only thing holding the piece together once the stabilizer is rinsed away, so the lines must cross each other closely, about 1/4 inch (6 mm) apart in both directions, and every line must connect to others. Rinse according to the stabilizer instructions, lay the piece flat and let it dry. The result suits scarves, bowl shapes and decorative panels more than anything that takes hard wear.
Watch out
Most tulle is nylon or polyester and can melt under a hot iron. Press confetti fabric from the base side, or use a pressing cloth and a low heat setting.
Cut tiny appliqué shapes
A scrap the size of a postage stamp is plenty for a small heart, leaf, circle or flower center. With paper-backed fusible web, the trick is to fuse first and cut second: iron the web to the wrong side of the scrap, draw or trace the shape on the paper backing, then cut it out. The paper stiffens the fabric, which makes small curves much easier to cut cleanly, and the fused edge frays less.
Shapes drawn on the backing come out mirrored on the right side, so reverse anything that is not symmetrical. Fuse the shapes to a tea towel, a tote, a card or a patch, then stitch around the edge. The step-by-step method is in scrap appliqué for beginners.
Keep a few pieces as mending patches
Small holes and worn spots need small patches, and a scrap bin is a ready supply. A patch should extend at least 1/2 inch (1.3 cm) past the damage on every side, so a 2-inch (5 cm) square covers a hole up to 1 inch (2.5 cm) across.
- Match the weight and fiber of the garment as closely as possible: denim for jeans, lightweight cotton for shirts, knit for knits.
- Use fabric that has already been washed so the patch does not shrink after it is sewn on.
- Round the corners of a patch placed on the outside so they are less likely to lift.
When a piece is simply too small
Not every sliver needs a purpose. It is reasonable to let a piece go when:
- it is under about 1 inch (2.5 cm) and you already have a full jar of stuffing;
- the weave is so loose that it frays apart when handled;
- the fabric is thin, brittle or worn through;
- it is stiff with glue, fusible residue or paint.
Setting a limit helps. One jar for stuffing and one small box for sewable crumbs is enough for most sewing spaces. When both are full, use them in a project before saving more.
Frequently asked questions
Can fabric scraps be used as stuffing?
Yes. Trimmings, selvages and thread snips make a dense, fairly heavy filling that suits pincushions, doorstops and draft stoppers. Snip long pieces shorter than 1 inch so the filling packs evenly. It is less suitable for squashy toys or items that are washed often, because a thick wad of cotton dries slowly.
How small is too small to sew?
With a 1/4-inch seam allowance on each side, a piece 1 inch wide shows only 1/2 inch once sewn, which is about the practical limit for piecing. Smaller bits are better used in confetti fabric or as stuffing.
What is confetti fabric?
Confetti fabric is made by scattering tiny fabric bits over a base fabric, covering them with fine tulle and stitching a close grid over the whole piece so every bit is held down. A version made between two sheets of water-soluble stabilizer gives a lacy, open fabric once the stabilizer is rinsed away.
Can you iron fabric made with tulle?
Carefully. Most tulle is nylon or polyester and can melt under a hot iron, so press from the base side or use a pressing cloth and a low heat setting.