Fabric Scrap Christmas Ornaments to Sew and Knot
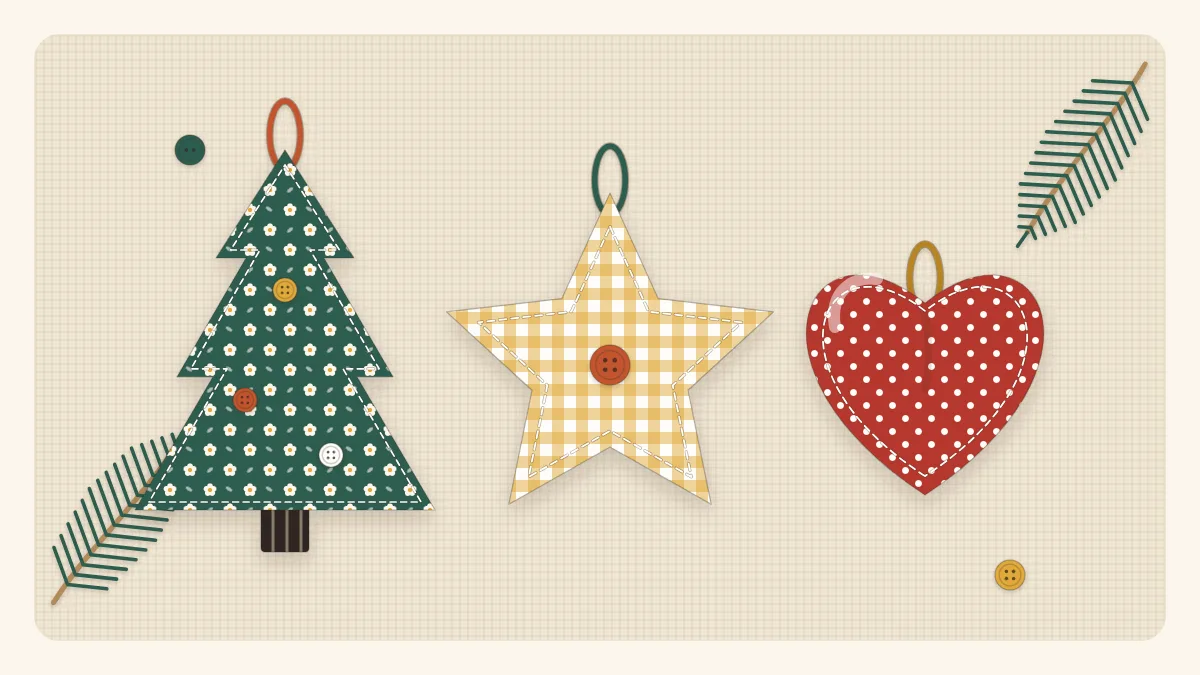
Three small ornaments from the scrap bin: a stuffed tree that is sewn and turned, a raw-edge star with pinked edges, and a no-sew strip tree knotted onto a cinnamon stick.
Project at a glance
Materials
- Cotton scraps and strips
- Paper, pencil and ruler for templates
- Polyester fiberfill or fabric trimmings
- Narrow ribbon or twine, 6 in (15 cm) per ornament
- Thread, pins and a hand-sewing needle
- Fabric scissors and pinking shears
- Cinnamon stick or straight twig about 5 in (13 cm) long
- Chopstick or blunt pencil
A tree hung with small handmade shapes in mismatched prints has a charm that boxed decorations rarely manage. Fabric scrap Christmas ornaments need very little material, two pieces not much bigger than a hand for each one, and they are forgiving for beginners. This tutorial covers three makes: a stuffed tree that is sewn and turned, a raw-edge star with pinked edges, and a no-sew strip tree knotted onto a cinnamon stick.
Materials
- Cotton scraps at least 5 x 6 inches (13 x 15 cm) for the tree and 6 inches (15 cm) square for the star, two pieces per ornament
- Strips about 3/4 inch (2 cm) wide for the no-sew tree
- Paper, pencil and ruler for templates
- Polyester fiberfill or fabric trimmings for stuffing
- Narrow ribbon or twine for loops, 6 inches (15 cm) per ornament
- Thread, pins, hand-sewing needle, fabric scissors
- Pinking shears for the star
- A cinnamon stick or straight twig about 5 inches (13 cm) long
- A chopstick or blunt pencil for turning and stuffing
Handmade twine makes a pretty hanger; see how to twist fabric twine from scraps.
Make the templates
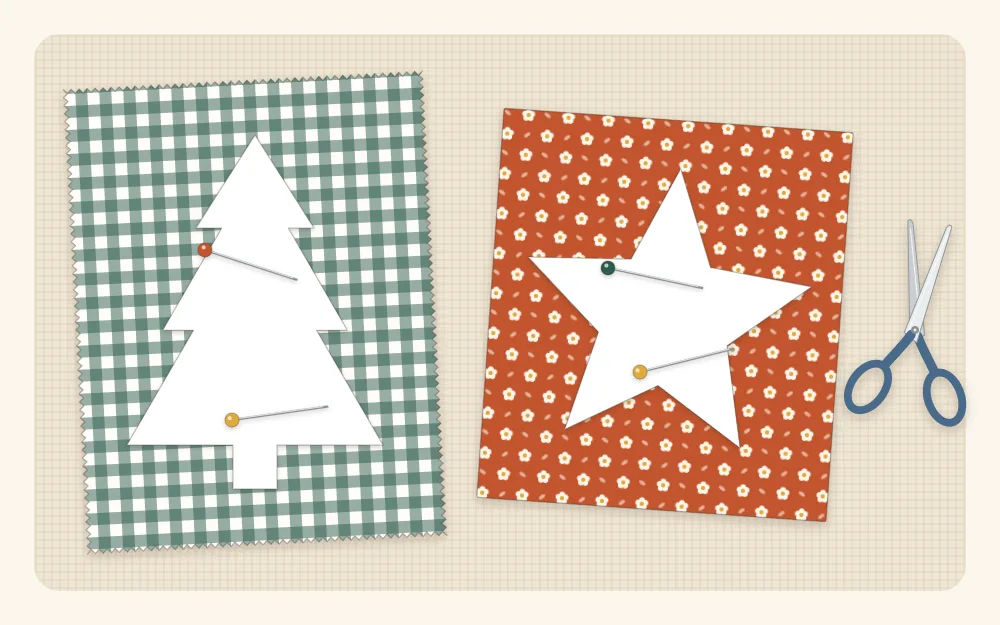
Tree: on paper, draw a horizontal line 4 inches (10 cm) long. Mark its center, measure 5 inches (13 cm) straight up from that point and connect the top mark to both ends of the base. Cut out the triangle. This template includes a 1/4-inch (6 mm) seam allowance.
Star: draw a five-pointed star about 4.5 inches (11.5 cm) from point to opposite point, or trace a star-shaped cookie cutter of a similar size. Wide, stubby points are easier to stuff than long thin ones. For the star, the template edge is the stitching line.
Stuffed tree ornament
- Cut. Pin the tree template to two layers of fabric and cut two triangles. They can be the same print or two different ones.
- Add the loop. Fold a 6-inch (15 cm) length of ribbon in half. Lay one triangle right side up and place the folded ribbon on it so the loop points down toward the base and the two cut ends stick out about 1/4 inch (6 mm) past the top point. Pin or baste it in place.
- Layer. Place the second triangle on top, right sides together, with the loop sandwiched inside. Pin.
- Sew. Stitch around the triangle with a 1/4-inch (6 mm) seam allowance, leaving a 1.5-inch (4 cm) gap in the middle of the base. At each corner, stop with the needle down, lift the presser foot and pivot. Backstitch at the start and end, and stitch back and forth once over the ribbon ends for strength.
- Trim. Clip across the three points close to the stitching without cutting it.
- Turn. Turn right side out through the gap and gently push out the points with a chopstick. Press, folding the gap edges in by 1/4 inch (6 mm).
- Stuff. Fill with small pinches of stuffing, starting at the top point. Aim for softly plump rather than hard.
- Close. Sew the gap shut with a ladder stitch.
The finished tree measures about 3.25 inches wide and 4 inches tall (8 x 10 cm) before stuffing.
Raw-edge star ornament
A small star has five sharp inner corners that are fiddly to turn right side out. Sewing it with the right sides facing outward avoids turning altogether, and pinked edges give a neat, deliberate finish.
- Layer. Place two 6-inch (15 cm) squares of fabric wrong sides together, so both right sides face out. Pin in the center.
- Mark. Trace around the star template on the top layer with a pencil or removable fabric marker.
- Add the loop. Fold the ribbon in half and slip the cut ends about 1/2 inch (1.3 cm) between the layers at the tip of one point, with the loop outside the star.
- Sew. Using a slightly shorter stitch length, around 2 mm, stitch on the traced line. Pivot with the needle down at every point and inner corner. Leave a 1.5-inch (4 cm) gap along one straight edge and backstitch.
- Stuff. Push small amounts of stuffing into each point with a chopstick, then fill the center lightly. A flat, softly padded star is easier to close than a fat one.
- Close. Stitch the gap shut on the traced line, by machine or by hand with a small backstitch.
- Trim. Cut around the star with pinking shears about 1/4 inch (6 mm) outside the stitching, taking care not to cut the ribbon loop.
For a turned and stuffed heart to hang beside the tree and star, follow the fabric scrap hearts tutorial and add a loop at the top.
No-sew strip tree on a cinnamon stick
- Tear or cut strips. Prepare 14 to 18 strips about 3/4 inch (2 cm) wide. Cut them in graded lengths: four or five at 7 inches (18 cm), four or five at 6 inches (15 cm), and the rest at 5 inches (13 cm) and 4 inches (10 cm). Greens are traditional, but any mix of prints works.
- Tie the bottom row. Leaving about 1 inch (2.5 cm) of stick bare at the bottom for the trunk, tie the longest strips around the stick with a firm double knot, all knots facing the same side. Push each knot down against the one before.
- Work upward. Continue with the shorter strips, ending with the 4-inch (10 cm) strips at the top. Leave about 1/2 inch (1.3 cm) of stick bare above the last knot.
- Trim to shape. Lay the stick flat, fan the strip ends out to both sides and trim them at an angle with scissors so the outline tapers from wide at the bottom to narrow at the top.
- Add a hanger. Tie a 6-inch (15 cm) length of twine around the top of the stick and knot the ends together to form a loop.
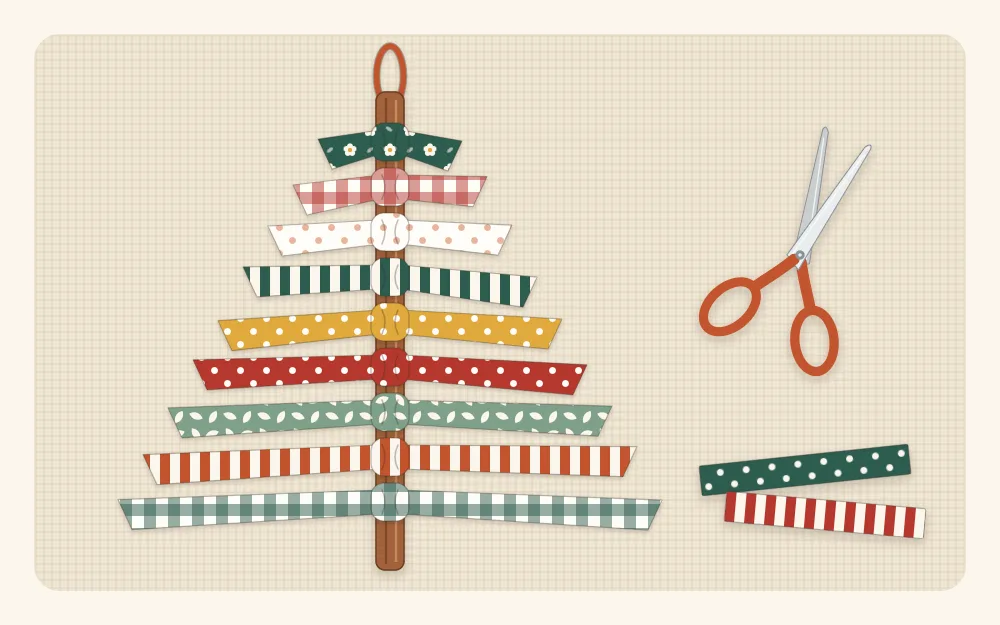
More projects that need no needle and thread are collected in the guide to no-sew fabric scrap projects.
Common mistakes
- Loop sewn on the outside of the tree: on the turned ornament, the loop must lie inside the fabric sandwich, pointing toward the base, with only its cut ends at the top point.
- Strips sliding on the stick: the knots are too loose. Tie double knots and pack them tightly together.
Watch out
Buttons, beads and bells make charming trims, but they are small parts and are not suitable for children under three. Hang decorated ornaments out of reach of small children and pets, and keep all fabric ornaments away from candles and hot bulbs.
Variations
- Patchwork fronts: sew two or three strips together, press, then cut the tree from the pieced panel.
- Scented ornaments: mix a few whole cloves or a pinch of dried lavender into the stuffing.
- Gift toppers: tie an ornament to a wrapped present in place of a tag; more ideas are in the roundup of scrap fabric gift ideas.
Frequently asked questions
What stuffing works best for fabric ornaments?
Polyester fiberfill gives a light, soft ornament that hangs well on a branch. Fabric trimmings also work but make a heavier, firmer shape, so use them sparingly in ornaments meant for thin branches.
Can these ornaments be sewn by hand?
Yes. Use a small backstitch in place of the machine seam on both the tree and the star. The no-sew strip tree needs no stitching at all.
Why sew the star with the right sides facing out?
A small five-pointed star has sharp inner corners that are difficult to turn right side out neatly. Stitching it with wrong sides together and trimming the edge with pinking shears avoids turning and gives a tidy finish.
What can replace the cinnamon stick?
Any straight, dry twig about 5 inches long works, as does a wooden craft stick or a short length of dowel.