No-Sew Fabric Scrap Projects: Five Easy Ideas With Knots, Glue and Fusible Web
Five no-sew fabric scrap projects with short how-tos: a knotted rag garland, wrapped hangers and bangles, a decoupage jar or tin, fused gift tags and braided cord.
A scrap bin does not need a sewing machine to be useful. No-sew fabric scrap projects rely on knots, glue, wrapping and fusible web instead of seams, which makes them a good fit for an evening at the kitchen table, for crafting with older children, or for scraps too frayed or oddly shaped to sew. The five ideas below each come with a short how-to and the strip sizes that work.
Before starting: strips, glue and fusible web
Most of these projects begin with strips. Woven cotton tears neatly along the grain: snip 1/2 inch (1.3 cm) into the edge, then pull the two sides apart firmly. Tearing is fast and leaves a soft, slightly frayed edge that suits garlands and wrapped pieces. Knits and loosely woven fabrics do not tear well and should be cut with scissors or a rotary cutter.
Three adhesives cover everything here:
| Adhesive | Best for | Notes |
|---|---|---|
| Fabric glue or tacky craft glue | Wrapping hangers and bangles, securing strip ends | Dries flexible; needs clips while it sets |
| Decoupage medium (or white craft glue thinned with a little water) | Covering jars, tins and boxes | Brushed under and over the fabric; dries clear |
| Paper-backed fusible web | Bonding fabric to paper, card or other fabric | Applied with an iron; no drying time |
Scraps already grouped by shape make all of this quicker. If the bin is still one big tangle, sorting fabric scraps by size first puts every strip in one place.
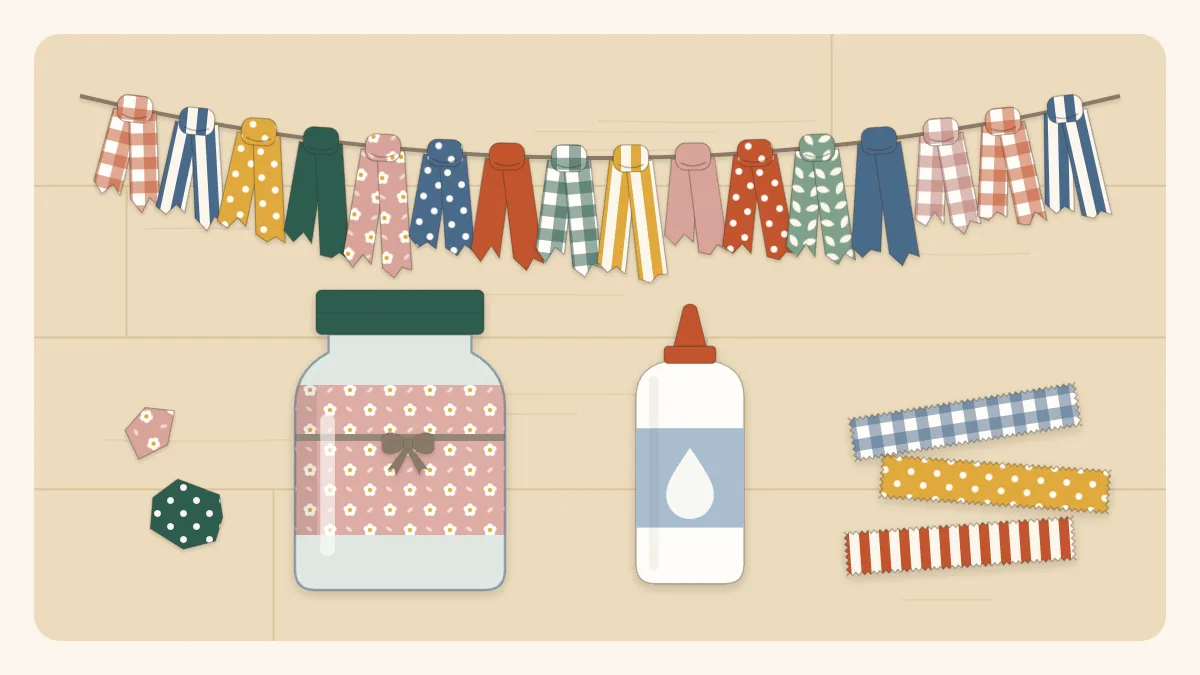
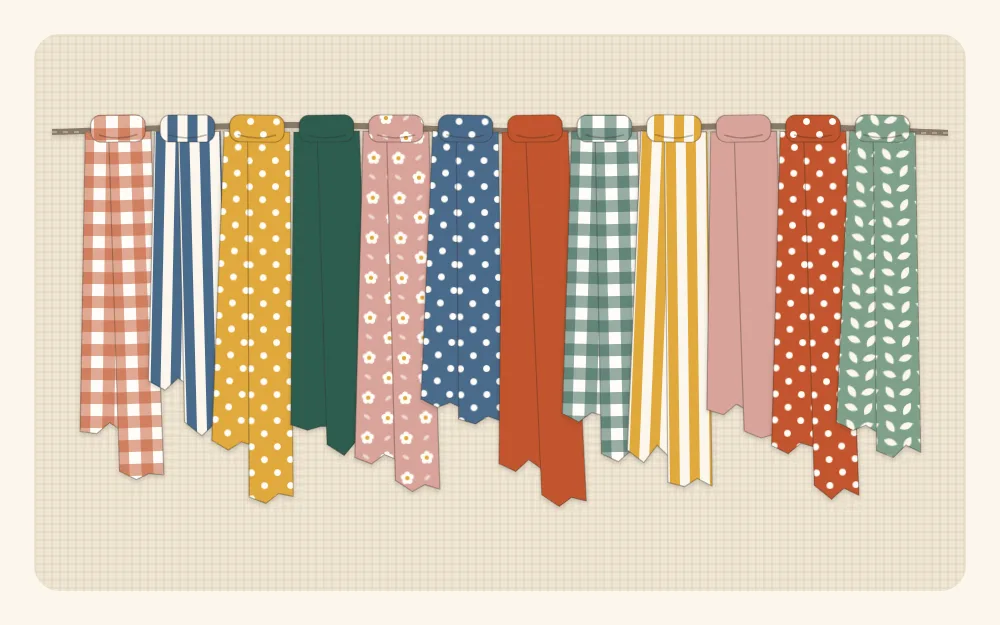
1. Knotted rag garland
- Twine or cotton cord, the length of the garland plus 12 inches (30 cm) at each end for hanging
- Fabric strips about 1 x 8 inches (2.5 x 20 cm); roughly 8 to 10 strips for every 4 inches (10 cm) of twine, depending on how full it should look
- Tie a loop at each end of the twine and stretch it between two chair backs so both hands are free.
- Fold a strip in half to find the middle, lay the middle under the twine and tie a single overhand knot around it. Pull it snug.
- Slide the knot along to sit against the previous one. Repeat, alternating prints and pushing the knots close together.
- Trim any wildly uneven ends, or leave them ragged.
For a tidier, flag-style decoration, fabric scrap bunting has a pinked single-layer version that needs very little stitching.
2. Fabric-wrapped hangers and bangles
Wrapping turns a plain wooden or wire hanger, or a smooth plastic or wooden bangle, into something with a bit of color. On hangers, the fabric also gives slippery garments something to grip.
- Strips 1 inch (2.5 cm) wide for hangers, 1/2 to 3/4 inch (1.3 to 2 cm) wide for bangles
- Fabric glue and two or three clips
- Put a dab of glue on the wrong side of the strip end and press it onto the hanger at one end of the bar, or onto the inside of the bangle. Clip and let it grab for a minute.
- Wrap at a slight angle, pulling the strip taut and overlapping each turn by about half its width so no gaps open up.
- To join a new strip, glue its end over the last 1/2 inch (1.3 cm) of the old one and keep wrapping over the join.
- Finish with a dab of glue under the final turn, on the inside of a bangle or the underside of a hanger, and clip until dry.
3. Decoupage jar or tin
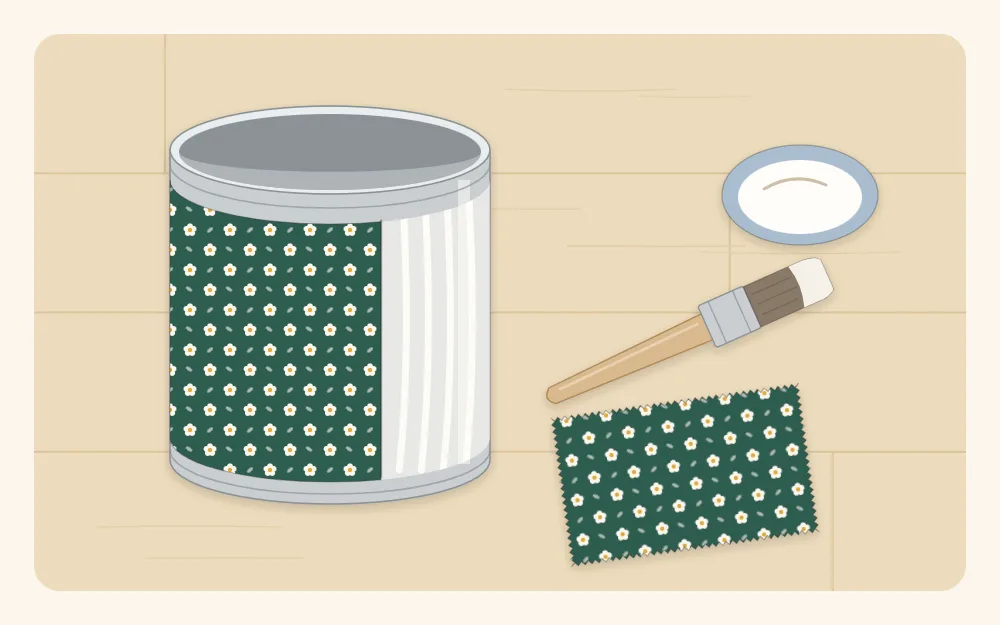
A clean jar or food tin covered in fabric makes a pencil pot, a utensil holder or a container for sewing notions.
- Wash the jar or tin, remove the label and dry it completely. Check a tin’s rim for sharp edges; press any burrs flat or cover the rim with a line of tape.
- Measure the height and the distance around. Cut one fabric rectangle to that height by the distance around plus 1/2 inch (1.3 cm) for an overlap. Alternatively, use a patchwork of smaller scraps and overlap each by 1/4 inch (6 mm).
- Brush a thin, even coat of decoupage medium onto the container.
- Smooth the fabric on from the middle outward, pressing out air bubbles with your fingers.
- Brush a second coat over the top of the fabric, paying attention to the edges and the overlap. Let it dry fully, then add another coat for a wipeable finish.
Watch out
Fabric and glue are flammable. A fabric-covered jar is not a safe holder for a lit candle; use a battery-operated light instead. Covered containers are also decorative only and should not go in a dishwasher or be soaked.
4. Fabric gift tags with fusible web
Paper-backed fusible web bonds fabric to cardstock with an iron, giving a crisp tag with no wet glue to warp the card.
- Iron fusible web onto the wrong side of a scrap, paper side up, following the product instructions. Let it cool.
- Peel off the paper backing. Place the scrap, web side down, on a piece of cardstock and press it with the iron until bonded. A sheet of parchment paper on top protects the iron.
- Cut out the tag shape through both layers: a 2 x 3 1/2-inch (5 x 9 cm) rectangle with two corners snipped off is a classic.
- Punch a hole at the top and thread a narrow fabric strip or twine through it. Write the name on the card side.
The same technique fuses a small fabric shape onto a plain card tag. Shapes are traced on the paper backing before cutting, which is the basis of raw-edge scrap appliqué as well.
Tip
Fuse a whole scrap to cardstock first and cut the tags afterward. Cutting fabric and card together gives a clean edge with no fraying and no fabric overhanging the card.
5. Braided fabric cord
Three strips braided together make a sturdy, flat cord for tying parcels, hanging ornaments or wrapping a jar neck.
- Cut or tear three strips, each 1 inch (2.5 cm) wide. Braiding shortens the strips, so start with lengths about one third longer than the cord needed.
- Knot the three strips together at one end and clip or tape the knot to a table edge.
- Braid as you would hair, folding each strip lightly so the right side of the fabric faces out, and keeping the tension even.
- To extend a strip, overlap a new one by 2 inches (5 cm) with a dab of fabric glue and braid over the join. Stagger the joins so they never fall in the same place.
- Finish with an overhand knot and trim the tails.
For a rounder, rope-like cord made from just two strips, the twisting method in fabric twine from scraps is the next thing to try.
Common problems and easy fixes
- Glue soaking through. Thin cottons show dark patches when too much glue is used. Apply it sparingly, to the base rather than the fabric where possible.
- Strips that fray into threads. Loose weaves shed. Choose tightly woven cotton for garlands, or cut strips with pinking shears.
Frequently asked questions
What is the best glue for no-sew fabric projects?
It depends on the job. Fabric glue or tacky craft glue dries flexible and suits wrapped hangers, bangles and strip ends. Decoupage medium is better for covering jars and tins because it is brushed both under and over the fabric and dries clear. Paper-backed fusible web, applied with an iron, is the cleanest choice for bonding fabric to card or to other fabric.
Is it better to tear or cut fabric strips?
Woven cotton tears quickly and straight along the grain, leaving a soft frayed edge that looks good in garlands and wrapped projects. Cut strips with scissors or a rotary cutter when a clean edge is wanted, or when the fabric is a knit or a loose weave that will not tear neatly.
Can a fabric-covered jar be washed?
It can be wiped with a barely damp cloth once the decoupage medium has dried completely, but it should not be soaked or put in a dishwasher. Treat it as a decorative container for dry items such as pencils, brushes or sewing notions.