Fabric Scrap Bookmarks: A Flat Stitched Version and a Corner Bookmark
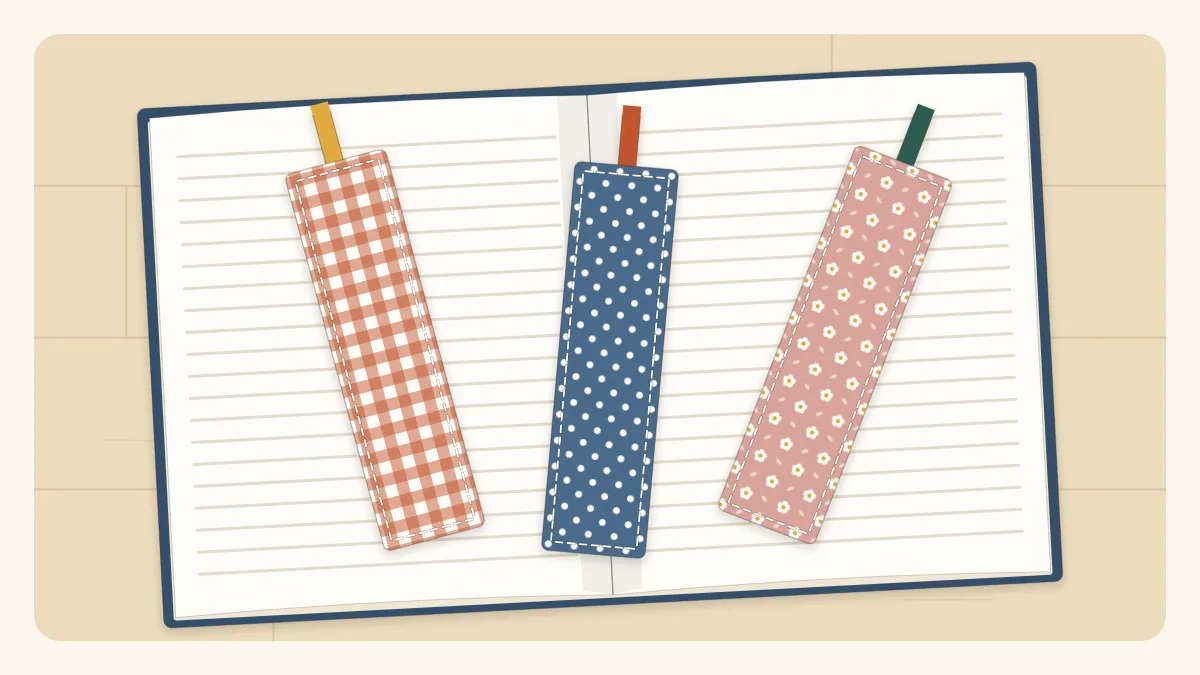
Turn narrow offcuts into fabric scrap bookmarks with two rectangles, a strip of interfacing and four straight seams. Includes a corner bookmark made from three squares.
Project at a glance
Materials
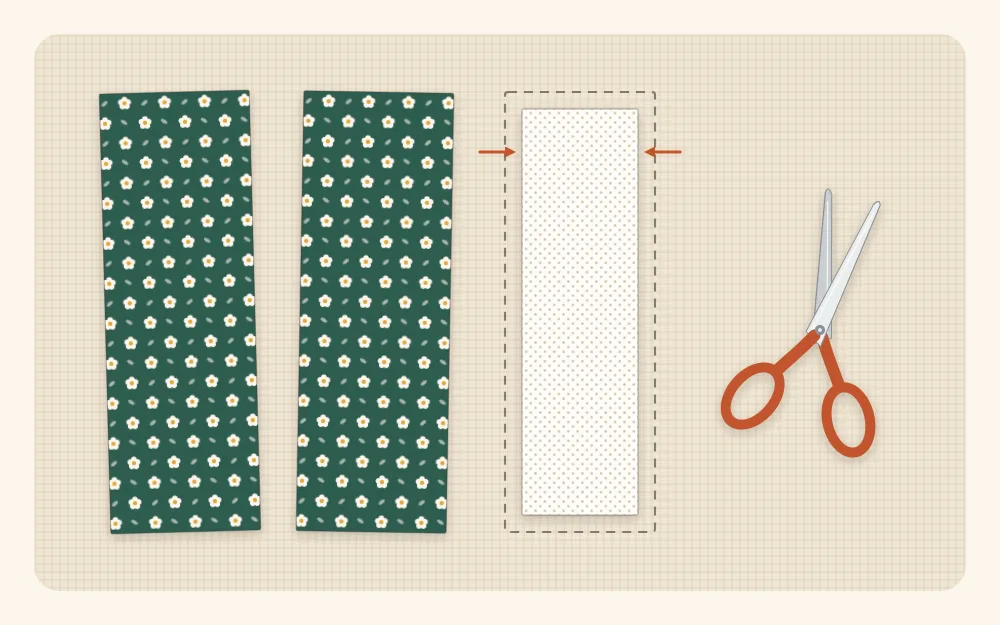
- 2 fabric rectangles, 2 1/2 x 7 1/2 in (6.5 x 19 cm)
- 1 rectangle of medium-weight fusible interfacing, 2 x 7 in (5 x 18 cm)
- Optional 6 in (15 cm) of narrow ribbon
- For the corner bookmark: 3 fabric squares, 4 1/2 in (11.5 cm)
- Thread, pins or clips, iron
- Scissors or rotary cutter, ruler and mat
- Blunt point turner
Fabric scrap bookmarks are about as small as a sewing project gets: two short rectangles, a strip of interfacing and four straight seams. They use pieces too narrow for most other things, they take well under an hour, and they are forgiving enough to be a first project at the machine. This tutorial covers a flat stitched bookmark, then a corner bookmark that slips over the page like a little pocket.
What makes a good bookmark scrap
Choose tightly woven cotton, such as quilting cotton, shirting or lightweight linen. Thick fabrics like denim or canvas make a bookmark that holds a book open and strains the spine, so save those for other projects. Small-scale prints work best because a large motif gets lost on a piece only 2 inches wide. If your scraps are short, sew two or three together end to end and treat the pieced strip as one rectangle.
The interfacing matters more than the fabric. A medium-weight fusible interfacing gives a bookmark that stays flat and stands up above the page without feeling like cardboard. Skip it and the bookmark goes limp after a few uses.
Materials and cutting list
For one flat bookmark with a finished size of 2 by 7 inches (5 by 18 cm):
| Piece | Cut | Size |
|---|---|---|
| Front fabric | 1 | 2 1/2 x 7 1/2 in (6.5 x 19 cm) |
| Back fabric | 1 | 2 1/2 x 7 1/2 in (6.5 x 19 cm) |
| Medium-weight fusible interfacing | 1 | 2 x 7 in (5 x 18 cm) |
You will also need matching or contrasting thread, an iron, pins or clips, and something blunt for pushing out corners, such as a chopstick or a knitting needle. A rotary cutter and ruler give the cleanest edges; the guide to cutting small fabric scraps shows how to square up an odd-shaped piece first.
How to sew a flat fabric bookmark
- Press the scraps. Iron both rectangles flat before measuring. Creases in a piece this small throw the size off.
- Fuse the interfacing. Lay the front rectangle wrong side up. Center the interfacing on it, glue side down, so 1/4 inch (6 mm) of fabric shows on every side. Fuse it following the instructions for your interfacing, pressing straight down rather than sliding the iron.
- Pin the layers. Place the front and back right sides together and line up all four edges. Mark a 2-inch (5 cm) gap in the middle of one long side.
- Sew around the edge. Stitch with a 1/4-inch seam allowance, running just beside the edge of the interfacing rather than through it. Start at one end of the gap, pivot at each corner with the needle down, and stop at the other end of the gap. Backstitch at the start and finish.
- Clip the corners. Cut across each corner diagonally, close to the stitching but not through it. This removes the bulk that would otherwise make lumpy corners.
- Turn and press. Turn the bookmark right side out through the gap. Push each corner out gently with the blunt tool. Fold the gap edges in so they line up with the seam, then press the whole piece flat.
- Topstitch. Sew all the way around, 1/8 inch (3 mm) from the edge. This closes the gap and keeps the bookmark crisp.
Tip
Lengthen the stitch slightly for topstitching, to about 3 mm. Longer stitches sit more evenly on several layers and look neater on a piece where every stitch is on show.
Adding a tassel or ribbon tail
A tail makes the bookmark easier to find in a closed book. Cut a 6-inch (15 cm) length of narrow ribbon or a thin fabric strip, fold it in half, and tuck the two cut ends between the layers at the center of one short edge before you pin in step 3. The loop should lie inside the bookmark, pointing toward the middle, with the cut ends sticking out about 1/4 inch past the fabric. The seam catches it, and it appears on the outside when you turn the bookmark.
Corner bookmark variation
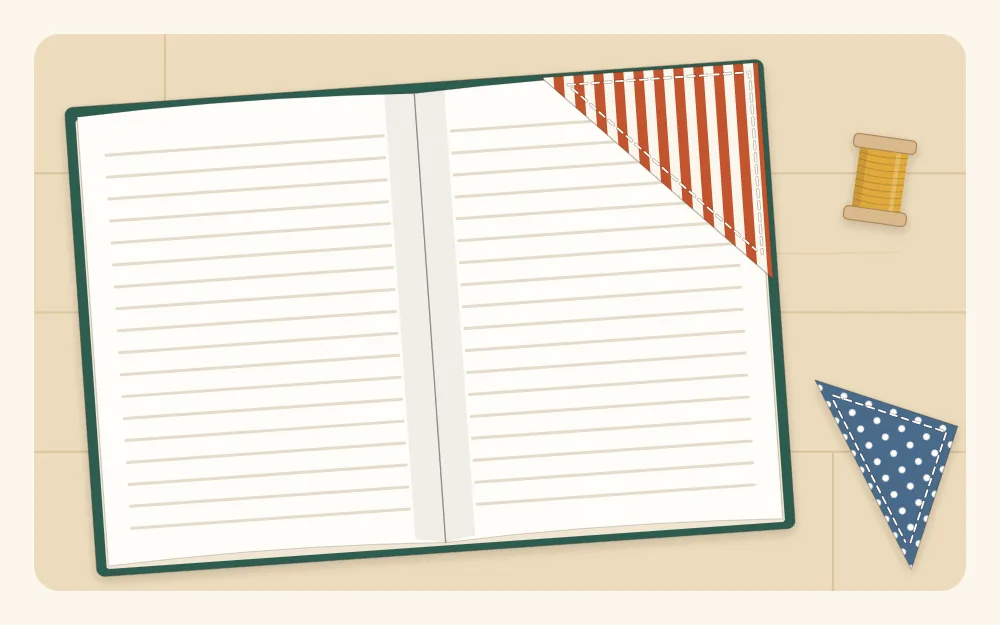
A corner bookmark is a small square with a triangular pocket on the front. The corner of the page slides into the pocket, so nothing sticks out of the top of the book.
Cut three 4 1/2-inch (11.5 cm) squares: one for the front, one for the back and one for the pocket. The finished bookmark is 4 inches (10 cm) square.
- Fold the pocket square in half diagonally, wrong sides together, and press. You now have a triangle with a folded long edge.
- Lay the front square right side up. Place the folded triangle on top, matching its two raw edges to two sides of the square.
- Lay the back square on top, right side down. Pin through all layers.
- Sew around all four sides with a 1/4-inch seam allowance, leaving a 1 1/2-inch (4 cm) gap in the middle of one side that the triangle does not touch.
- Clip the four corners, turn right side out through the gap and push the corners out. The triangle will now sit on the front as a pocket.
- Press, fold the gap edges in, and topstitch 1/8 inch from the edge along the two sides without the pocket to close the gap. Stitching over the pocket sides as well is optional and adds strength.
Watch out
The corner where the pocket meets the square has six layers of fabric. Sew slowly there, and turn the handwheel by hand for a few stitches if the machine hesitates.
Common mistakes
- Interfacing in the seam. If the interfacing is cut the same size as the fabric, the edges turn out thick and wavy. Keep it 1/4 inch inside every edge.
- Rounded, puffy corners. These come from skipping the clipping step or from poking too hard with a sharp tool. Clip close and push gently.
- A dip at the gap. Press the gap edges in carefully before topstitching so the side stays straight.
- Too thick to close the book. Use light cottons, and avoid adding batting.
Ways to change it up
- Pieced front. Sew three or four short scraps into a strip, press the seams open, then trim to 2 1/2 by 7 1/2 inches.
- Two-sided. Use a print on the front and a solid on the back so the bookmark suits any book.
- Narrow version. Cut the fabric 2 by 7 1/2 inches and the interfacing 1 1/2 by 7 inches for a bookmark 1 1/2 inches (4 cm) wide.
- Decorative stitching. Run a line of zigzag or another decorative stitch down the center of the front before sewing the layers together.
Bookmarks slip easily into a card or a wrapped book, which makes them a natural addition to a list of scrap fabric gift ideas. If you enjoyed how quickly this one came together, the roundup of easy fabric scrap projects for beginners has more small makes arranged by scrap size.
Frequently asked questions
Do fabric bookmarks need interfacing?
Interfacing is not essential, but it gives a flat bookmark enough body to stay straight and slide between pages. Without it, two layers of quilting cotton feel limp. Medium-weight fusible interfacing cut to the finished size is enough; heavier types can make the bookmark too thick for a paperback.
What size should a fabric bookmark be?
A finished size of about 2 x 7 inches (5 x 18 cm) fits most novels. For that size, cut the fabric 2 1/2 x 7 1/2 inches to allow a 1/4-inch seam on every side. Slim paperbacks suit a 1 1/2-inch width, and large hardcovers can take a bookmark 8 inches long.
Can a fabric bookmark be made without a sewing machine?
Yes. The same steps work with a small hand backstitch for the seam and a running stitch for the topstitching. Another option is to fuse two fabric pieces together with paper-backed fusible web and trim the edges with pinking shears, which needs no stitching at all.