Cutting Small Fabric Scraps Into Useful, Accurate Pieces
How to press, square up and cut odd-shaped scraps into standard squares and strips that fit together, with a size chart and safety notes.
Project at a glance
Materials
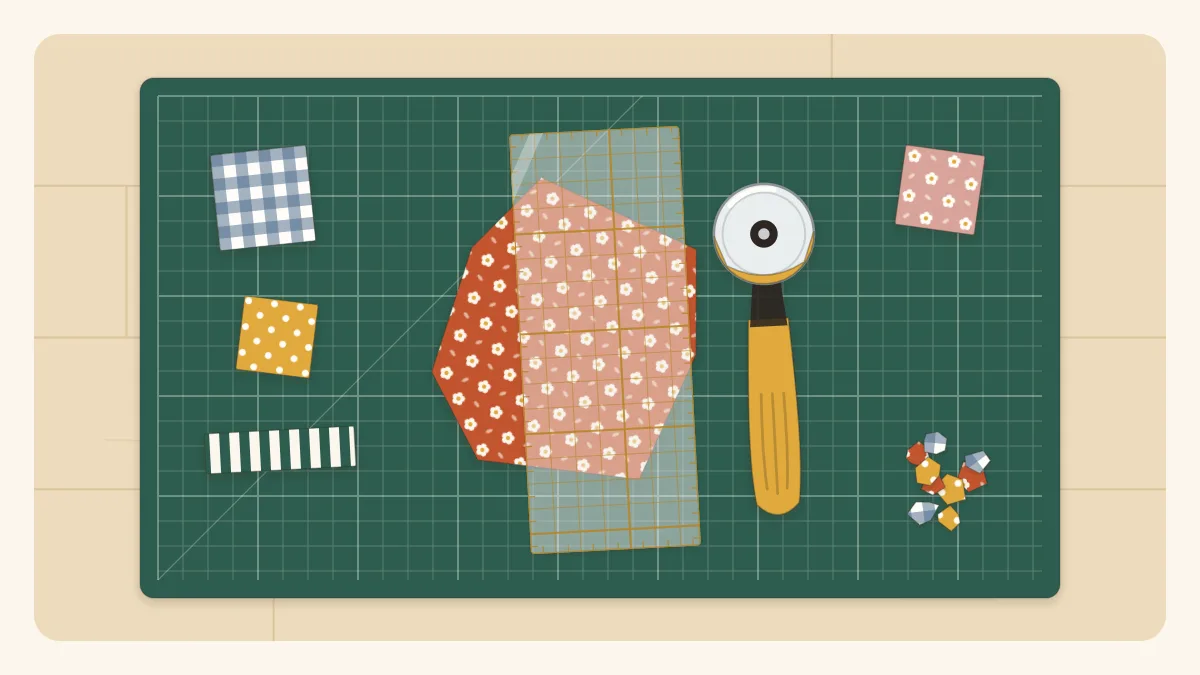
- Rotary cutter with a sharp 45 mm or 28 mm blade
- Self-healing cutting mat
- Clear acrylic ruler with 1/4-inch markings (a 6.5 in square ruler is ideal)
- Iron and pressing surface
- Fabric scissors
- Thin cardboard or template plastic for odd shapes
- Fabric marker or pencil
Cutting small fabric scraps accurately is what turns a bag of odd shapes into pieces that fit together. A scrap has no straight edge to measure from and often no obvious grain, so the usual method of lining up a selvage does not apply. The fix is a short routine: press, make one clean edge, make a second edge square to it, then cut to size from those two edges.
Done this way, even a ragged triangle gives up a usable square, and a pile of leftovers becomes neat stacks ready to sew.
Tools
- Rotary cutter with a sharp blade. A 45 mm blade handles most scraps; a 28 mm blade is easier on very small pieces and curves.
- Self-healing cutting mat. A small one, around 12 x 18 inches (30 x 45 cm), is plenty for scraps.
- Clear acrylic ruler with 1/4-inch markings. A 6 x 12 inch ruler suits strips; a 6 1/2-inch square ruler is the most useful single tool for squares.
- Iron and pressing surface.
- Fabric scissors for curves and for trimming threads.
- Template material for odd shapes: thin cardboard, a cereal box or template plastic.
- Fabric marker or pencil.
Watch out
Rotary blades are extremely sharp. Close the guard every time the cutter leaves your hand, always cut away from your body, and keep the hand holding the ruler flat with fingertips well back from the edge. Replace dull blades: pressing harder with a dull blade is how slips happen. Store the cutter out of reach of children.
Press first
A wrinkled scrap cannot be cut accurately, because the wrinkles open up afterwards and the piece ends up larger than you measured. Press each scrap flat with a hot, dry iron suited to the fabric. For very limp or badly creased cotton, a light mist of water or spray starch helps the piece lie flat and resist stretching under the ruler.
Squaring an odd scrap
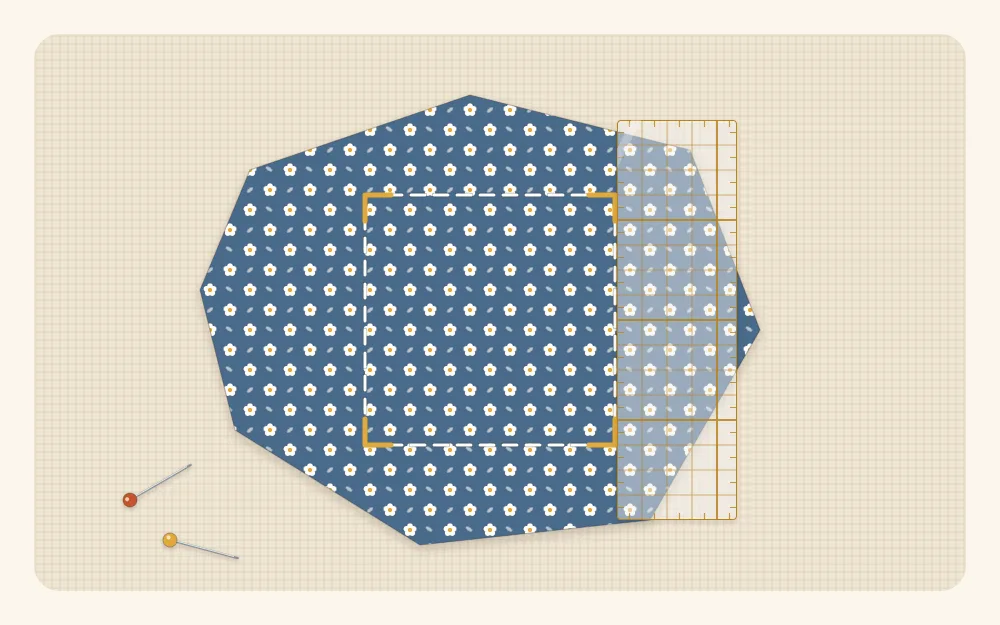
- Find the grain. Look closely at the weave. The threads run in two directions at right angles. Cutting parallel to them, rather than on a slant, gives a piece that will not stretch. On a print with stripes or gingham, the pattern usually follows the grain.
- Size it up. Lay the square ruler over the scrap and see which standard size fits inside with a little to spare. Avoid frayed edges, holes and old seam lines.
- Cut the first edge. Lay the ruler along one side, lined up with the grain, with the ragged edge just showing beyond it. Hold the ruler firmly and roll the cutter along its edge in one pass, away from you.
- Cut the second edge. Turn the mat or the scrap a quarter turn. Place a horizontal line of the ruler exactly on the edge you just cut, then trim the next side. These two edges now form a true right angle.
- Cut to size. Turn the scrap so the clean corner is at the lower left (lower right if you cut left-handed). Line up the ruler markings for your chosen size on both clean edges, for example the 2 1/2-inch lines, and cut the remaining two sides.
- Check. Lay the ruler on top. All four edges should sit on the lines.
Tip
Turn the mat, not the fabric. Small pieces shift when lifted, and a cutting mat on a smooth table swivels easily. That keeps the fresh edges exactly where they were.
Standard sizes worth cutting
Cutting to a few fixed sizes means scraps from different projects can be combined later. With a 1/4-inch seam allowance on every side, each piece finishes 1/2 inch smaller than it was cut.
| Cut size | Finished size | Good for |
|---|---|---|
| 1 1/2 in (4 cm) square | 1 in (2.5 cm) | Tiny nine-patches, postage-stamp patchwork |
| 2 in (5 cm) square | 1 1/2 in (4 cm) | Small four-patches, pincushion tops |
| 2 1/2 in (6.5 cm) square | 2 in (5 cm) | The all-purpose scrap square; four-patches and nine-patches |
| 3 1/2 in (9 cm) square | 3 in (7.5 cm) | Simple patchwork, pairing with pieced units |
| 5 in (13 cm) square | 4 1/2 in (11.5 cm) | Coasters, pouches, larger patchwork |
| 1 1/2 in (4 cm) strip, any length | 1 in (2.5 cm) wide | String piecing, narrow borders, sashing |
| 2 1/2 in (6.5 cm) strip, any length | 2 in (5 cm) wide | Strip piecing, binding, scrunchie and fob pieces |
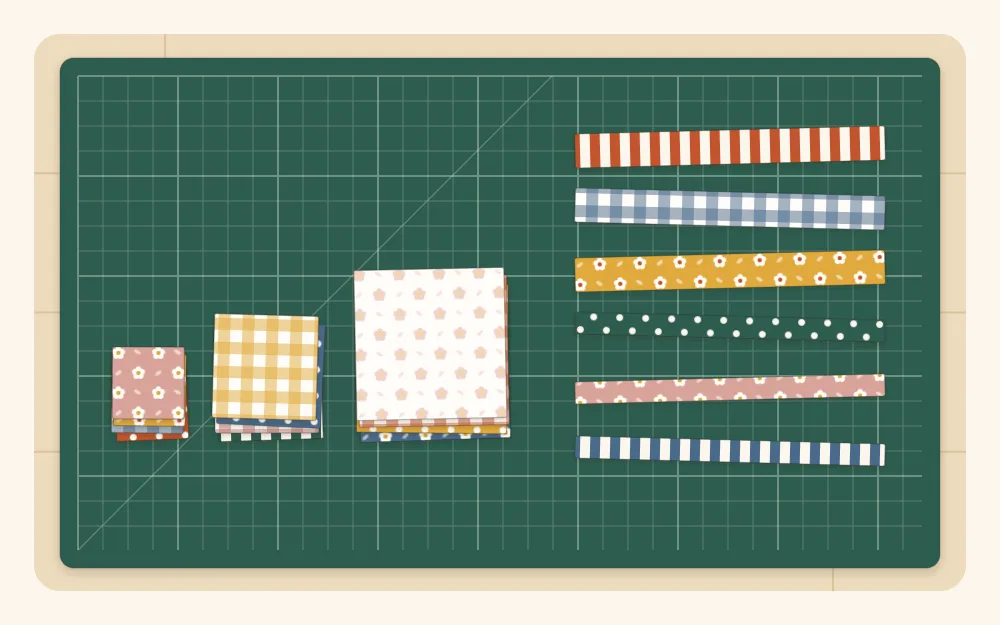
Why these sizes work together
The sizes are not arbitrary. They nest inside one another once sewn:
- Four 2-inch squares sewn as a four-patch measure 3 1/2 inches, the same as a 3 1/2-inch cut square.
- Nine 1 1/2-inch squares sewn as a nine-patch also measure 3 1/2 inches.
- A 5-inch square can be cut into four 2 1/2-inch squares, with nothing left over.
- A 2 1/2-inch strip can be cut across into 2 1/2-inch squares whenever you need them.
That means a pieced unit can sit next to a plain square in the same row. The guide to patchwork for beginners shows how these units go together.
Always cut the largest size a scrap allows. A 5-inch square can become smaller pieces later; four 2 1/2-inch squares can never go back to being one large one.
Templates for odd shapes
Circles, hearts, triangles and hexagons are easier with a template than with a ruler.
- Draw the shape on thin cardboard or template plastic and cut it out carefully. For pieces that will be seamed, include the 1/4-inch seam allowance in the template.
- Place the template on the wrong side of the pressed scrap and trace around it with a sharp pencil or fabric marker.
- Cut on the line with scissors. For straight-sided shapes, a ruler and rotary cutter laid along the traced line is quicker.
Shapes for fused appliqué are traced differently, onto the paper backing of fusible web; see scrap appliqué for beginners for that method.
Common mistakes
- Cutting stacks that are too thick. Two to four layers of cotton is the limit for accurate small pieces. More than that, and the bottom layers shift.
- Measuring from a ragged edge. Every measurement must start from an edge you have just cut.
- Sawing back and forth. One firm pass gives a clean edge. If threads are left uncut, the blade needs replacing.
- Ignoring the grain. Squares cut on a slant stretch along their edges and make seams wavy.
Where the offcuts go
Trimming produces its own, smaller scraps. Anything that can still yield a 1 1/2-inch square goes back in the bin. Slivers and irregular bits are ideal for crumb quilting, where no fixed shape is needed. If the bin itself needs attention before you cut, start with how to sort fabric scraps, so pieces of a similar size are trimmed together in one session.
Frequently asked questions
What size should I cut my fabric scraps?
A small set of standard sizes covers most projects: 1.5, 2, 2.5, 3.5 and 5 inch squares, plus strips 1.5 and 2.5 inches wide. Cut the largest size each scrap allows, since a big piece can always be cut down later.
Can I cut fabric scraps without a rotary cutter?
Yes. Mark the shape on the pressed scrap with a ruler and a sharp pencil, then cut just inside the line with sharp fabric scissors. It is slower, but the result can be just as accurate.
How do I find the grain on a small scrap?
Look closely at the weave. The threads run in two directions at right angles to each other, and cutting parallel to either one keeps the piece from stretching. Woven stripes and ginghams follow the grain, which makes it easy to see.
How many layers of scraps can I cut at once?
For small, accurate pieces, two to four layers of quilting cotton is a sensible limit. Thicker stacks tend to shift under the ruler, so the bottom pieces come out a different size from the top ones.