Scrap Fabric Basket With Boxed Corners and a Fold-Over Cuff
Sew a small lined fabric bin with a square base, stiff interfacing and a cuff that folds down to show the lining, with the boxed-corner math worked out.
Project at a glance
Materials
- 2 outer panels, 10.5 x 9.5 in (26.7 x 24 cm), single fabric or pieced
- 2 lining panels, 10.5 x 9.5 in (26.7 x 24 cm)
- 2 pieces stiff fusible interfacing, 10.5 x 9.5 in (26.7 x 24 cm)
- Thread and a size 90/14 machine needle
- Ruler and removable fabric marker
- Scissors or rotary cutter and mat
- Clips
- Iron and pressing cloth
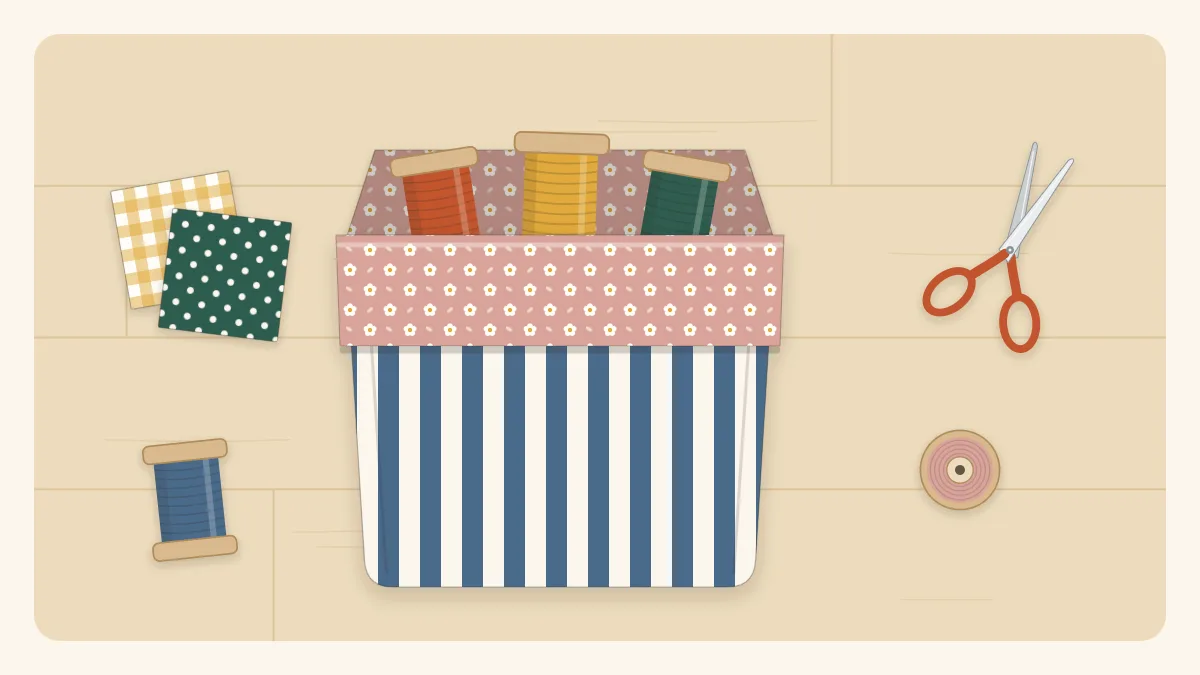
A scrap fabric basket is a soft, lined bin with a flat square base and a cuff that folds down to show the lining. It stands on a shelf or sewing table and holds thread spools, clips, hair ties or the next handful of scraps waiting to be sorted. The construction is two simple bags, an outer and a lining, joined at the top. The only part that needs care is the boxed corners, and the math for those is worked out below so the base comes out truly square.
Finished size
The basket has a 5 x 5 inch (13 x 13 cm) base. Unfolded it stands 6.5 inches (16.5 cm) tall; with a 1.5-inch (4 cm) cuff folded down it stands 5 inches (13 cm) tall. All seams are 1/4 inch (6 mm).
Materials and cutting list
| Piece | Cut size | Quantity |
|---|---|---|
| Outer panels | 10.5 in wide x 9.5 in tall (26.7 x 24 cm) | 2 |
| Lining panels | 10.5 in wide x 9.5 in tall (26.7 x 24 cm) | 2 |
| Stiff fusible interfacing | 10.5 in wide x 9.5 in tall (26.7 x 24 cm) | 2 |
- Thread to match, plus a slightly heavier needle (size 90/14) for the thick layers
- Ruler, removable fabric marker, scissors or rotary cutter and mat
- Clips, which hold stiff layers better than pins
- Iron and pressing cloth
The interfacing is what makes the basket stand. Choose a firm, heavyweight fusible sold for bags and crafts. A medium-weight interfacing gives a slouchier bin that still works for light contents. Quilting cotton, canvas, denim and linen scraps all suit the outer; the lining shows on the cuff, so pick a print worth seeing.
Piecing the outer panels from scraps
Each outer panel can be a single remnant or a pieced panel. For vertical stripes, cut five strips 2.5 x 9.5 inches (6.5 x 24 cm) per panel and sew them together along the long edges. Five strips total 12.5 inches, and four seams take away 2 inches, leaving 10.5 inches. Press the seams open to keep the panel flat, then treat it as one piece of fabric. Accurate seams matter here; the basics are covered in patchwork for beginners.
How the boxed-corner math works
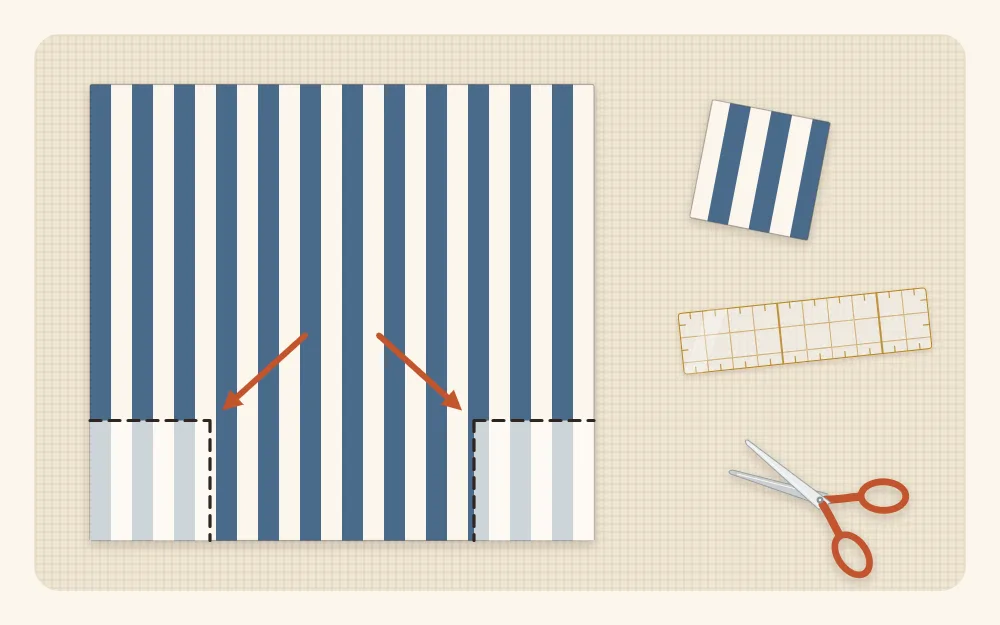
A 2.5-inch (6.5 cm) square is cut out of each bottom corner of every panel. When the cut edges are pulled open and sewn straight across, they form the corner of the base.
- Base depth: twice the cut-out size. 2 x 2.5 = 5 inches.
- Base width: panel width, minus two cut-outs, minus two seam allowances. 10.5 − 5 − 0.5 = 5 inches.
- Height: panel height, minus one cut-out, minus the corner seam and the top seam. 9.5 − 2.5 − 0.25 − 0.25 = 6.5 inches.
As a check, the opening measures 10 inches across when flat after the side seams are sewn, or 20 inches around, which matches the four 5-inch sides of the base.
Step by step
1. Fuse and cut the corners
- Fuse the interfacing to the wrong side of each outer panel, following the instructions supplied with it. Use a pressing cloth and let the panels cool flat.
- On all four panels, mark a 2.5-inch square at each bottom corner, measuring from the raw edges. Cut the squares out. Each panel now has two notched bottom corners.
Watch out
Fusing takes firm pressure and time on each spot, and the iron and fabric stay hot afterward. Keep fingers clear of the soleplate and never leave the iron face down on the board.
2. Sew the outer
- Place the two outer panels right sides together. Sew both side seams and the bottom seam with a 1/4-inch seam. Do not sew the cut-out corners.
- Finger-press the seams open. Stiff interfacing does not like to be creased hard, so press gently.
- Box one corner: pull the cut-out open so the side seam lies directly on top of the bottom seam and the raw edges form one straight line. Clip, then sew across with a 1/4-inch seam, backstitching at both ends.
- Repeat on the other corner. Turn the outer right side out and push the corners into shape.
3. Sew the lining
- Sew the lining panels the same way, but leave a 4-inch (10 cm) gap in the middle of the bottom seam for turning. Backstitch on both sides of the gap.
- Box both corners as before. Leave the lining wrong side out.
4. Join the outer and lining
- Slip the outer, right side out, inside the lining, which is still wrong side out. The right sides are now facing each other.
- Match the side seams and the top raw edges. Clip all the way around.
- Sew around the top with a 1/4-inch seam. Go slowly over the side seams, where the layers are thickest.
- Pull the outer through the gap in the lining. Tuck the gap’s raw edges in and stitch it closed by machine close to the fold, or with a hand ladder stitch.
- Push the lining down inside the outer and work the corners together.
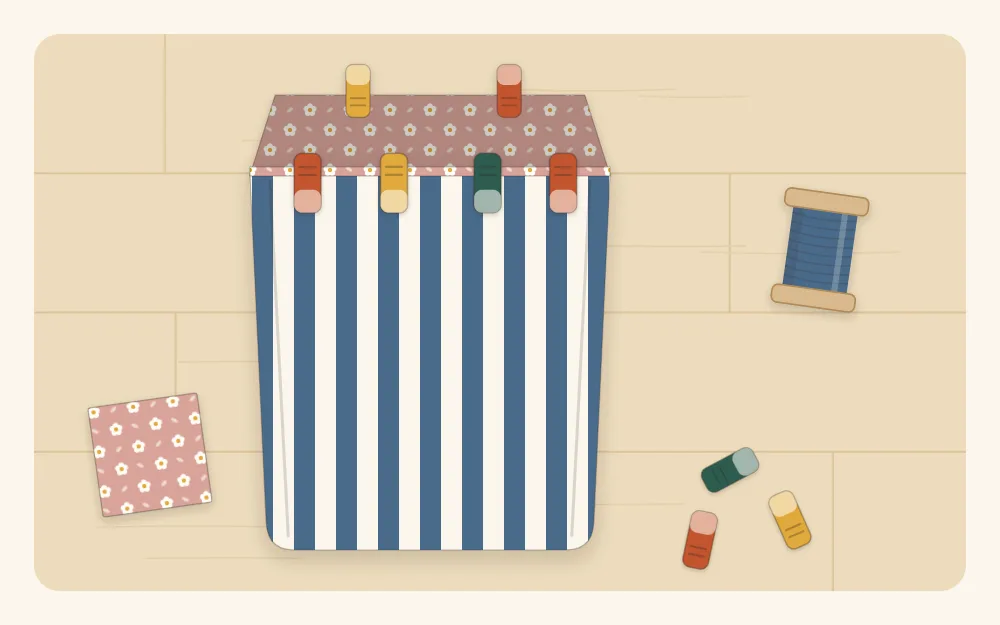
5. Topstitch and fold the cuff
- Roll the top seam so it sits exactly on the edge and press it.
- Topstitch 1/8 inch (3 mm) from the top edge, all the way around, with a slightly longer stitch.
- Fold the top 1.5 inches down to the outside to form the cuff. Press the fold lightly, then crease the four vertical edges of the basket with the fingers to sharpen the box shape.
Tip
For a lining that sits smoothly, sew its side and bottom seams a thread or two wider than 1/4 inch. The lining ends up very slightly smaller than the outer and does not bag inside the basket.
Common mistakes
- A base that is not square. The cut-outs were measured from a stitched seam instead of the raw edges, or the seam allowance was wider than 1/4 inch. Mark and cut the corners before any sewing.
- Corner seams that do not line up. The side and bottom seams were not stacked exactly before sewing across. Push a pin straight through both seam lines to check before clipping.
- A floppy basket. The interfacing is too light. Add a second layer to the outer, or fuse a medium-weight layer to the lining as well.
- A twisted top edge. The side seams were not matched when joining outer and lining. Clip the seams first, then ease the rest.
- Skipped stitches at the seams. A fresh, heavier needle and a slower speed usually solve it.
Variations
- A smaller bin. Keep the same relationships: panel width equals four times the cut-out plus 1/2 inch. With 2-inch cut-outs and panels 8.5 x 8 inches, the base is 4 inches square and the basket stands 5.5 inches tall before the cuff is folded.
- A matching set. Pair the basket with a scrap fabric zipper pouch in the same prints for a tidy sewing-table duo.
- Handles. Before joining the outer and lining, baste a loop of twill tape or a folded fabric strip to each side seam, raw ends matching the top edge, loop hanging down between the layers.
- Scrap sorting. A row of these bins in different prints works well for strips, squares and crumbs; more options are in the guide to fabric scrap storage ideas.
Frequently asked questions
What interfacing makes a fabric basket stand up?
A firm, heavyweight fusible interfacing sold for bags and crafts gives the most structure. Medium-weight interfacing makes a softer, slouchier bin. Adding a second layer to the lining stiffens the basket further.
How do I work out the size of a boxed corner?
With the cut-out method, the base depth is twice the size of the square cut from each corner. The base width is the panel width minus two cut-outs and two seam allowances. For a square base with 1/4-inch seams, cut the panel four times the cut-out size plus 1/2 inch wide.
Can the basket be made without a lining gap?
The gap in the lining's bottom seam is the simplest way to turn the basket right side out with a clean top edge. It sits hidden at the bottom of the lining once stitched closed.