Fabric Scrap Storage Ideas That Help Scraps Get Used
Simple ways to store fabric scraps so they stay visible and easy to reach: clear bins, card folding, rolled strips, a current-project basket and a firm limit on space.
Scraps that cannot be seen do not get sewn. That is the idea behind the best fabric scrap storage ideas: the goal is not to hide the pile, it is to make each piece easy to find at the moment a project needs it. A workable system can be built from containers already in the house, and it does not have to be pretty. It has to be visible, simple to put things back into, and limited in size.
Three rules that make any system work
- See it. Clear containers, open baskets and shallow boxes beat deep opaque tubs. If a piece has to be dug for, it tends to be forgotten.
- One step to put away. If filing a scrap takes folding, labeling and lifting three lids, the scraps will end up in a heap on the table. Aim for drop-in storage wherever possible.
- A fixed amount of space. Decide how much room scraps are allowed, then let the containers set the limit.
Choose one way to group: size or color
Both work. The better choice depends on how you like to start a project.
| Group by | Suits | Trade-off |
|---|---|---|
| Size and shape | Sewists who start from a pattern that calls for strips or squares of a set size | Finding a particular color means looking through several bins |
| Color | Sewists who start from a palette or like scrappy, color-led projects | Pieces of very different sizes share a bin and need trimming later |
A common middle path is to sort by size first and then, only within the largest group, by color. The reasoning behind that order is explained in the guide on how to sort fabric scraps. Whichever you choose, keep the number of categories small. Four to six bins that stay in order are more useful than twenty that do not.
Clear bins on a shelf
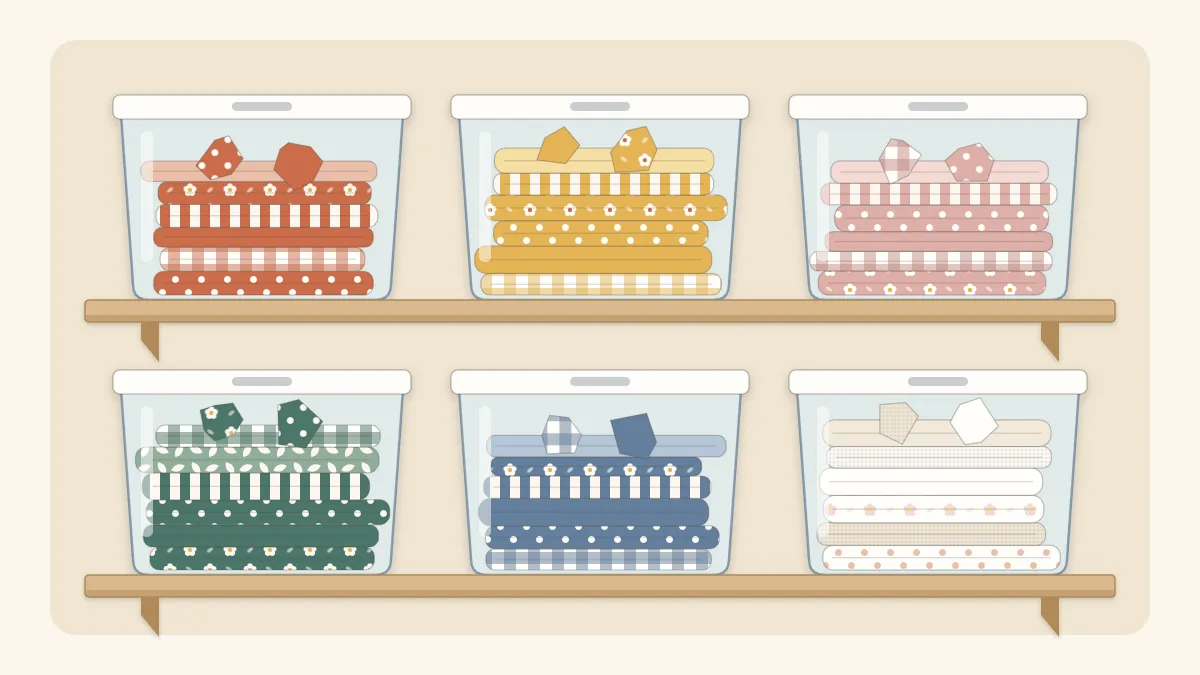
Lidded clear bins of the shoebox size stack neatly, keep dust out and show their contents from the side. Place them on a shelf at eye level or just below, with the short end facing out so more fit in a row. For color grouping, six bins cover most collections: reds and pinks, oranges and yellows, greens, blues and purples, neutrals and browns, and black, white and gray.
Fill bins loosely. Fabric that is crammed in creases hard and has to be pressed before every use. Smaller squares and crumbs do well in clear jars or zip-top bags stood upright inside a bin.
Watch out
Direct sunlight fades fabric along exposed folds, and damp spaces can lead to mildew and musty smells. Keep scrap storage out of sunny windows and away from damp basements or unheated sheds.
Fold larger pieces around a card
Remnants bigger than about 10 inches (25 cm) across deserve better than a crumpled life in a bin. Folding each piece around a card turns a messy stack into a row of small, even bundles that can be filed upright like books and flipped through quickly.
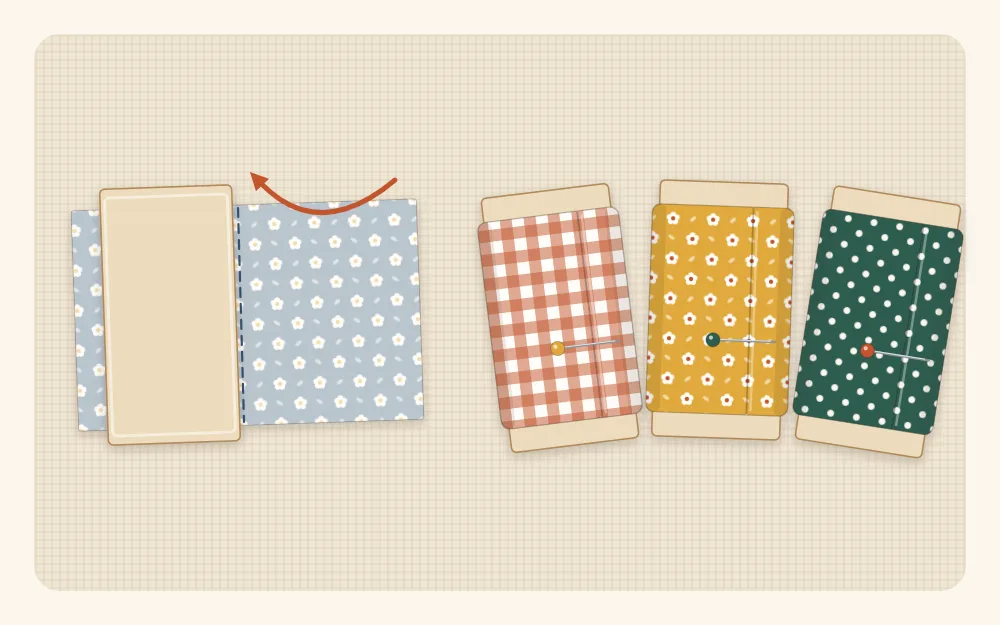
- Cut a card to suit the container. A 4 x 6 inch (10 x 15 cm) rectangle of sturdy cardboard fits most shoebox-size bins.
- Press the fabric, then fold it lengthwise until it is slightly narrower than the long side of the card, about 5.5 inches (14 cm) wide.
- Lay the card at one end and wrap the fabric around it, keeping the edges even.
- Tuck the loose end under a previous wrap, or hold it with a small clip.
For long-term storage, acid-free comic book backing boards are a common choice of card, and clips are safer than pins, which can leave rust marks if they sit in fabric for a long time. Stand the wrapped cards on edge in a bin with the folded side up so each print is visible.
Roll strips and stand them up
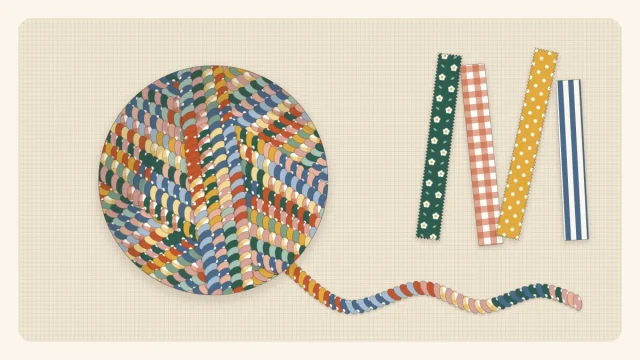
Long strips tangle faster than any other shape. Rolling solves it. Sort strips by width, since width is what a pattern asks for; 1.5-inch (4 cm) and 2.5-inch (6.5 cm) strips are the most often used. Roll several strips of the same width together into a coil, secure it with a clip or a loop of twine, and stand the rolls on end in a shallow box or drawer.
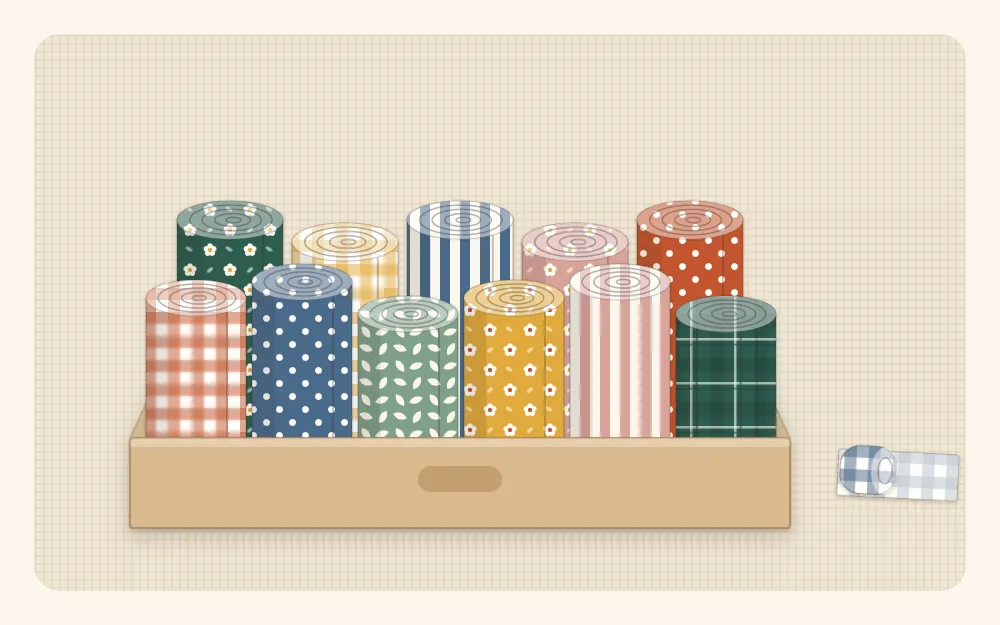
A box about 3 inches (7.5 cm) deep suits 2.5-inch (6.5 cm) strips well: the rolls stay upright and the top edge of every print shows. Strips stored this way are ready for projects such as a string quilt block, which uses up a mix of widths.
Tip
Trimming scraps to a few standard sizes before storing them makes every container tidier and every project quicker to start. The guide to cutting small fabric scraps lists useful sizes for squares and strips.
Keep a “current project” basket
A single open basket near the machine holds the pieces pulled for whatever is being made right now, along with matching thread and any pattern notes. It does two jobs. It stops the main bins from being rummaged through every time sewing resumes, and it gives leftover cuts from the project a place to land until the project is finished.
When the project is done, empty the basket completely: return usable pieces to their bins, drop trimmings into the stuffing jar, and start the next project with a clear basket. A basket that is never emptied becomes a second scrap pile.
Set limits and clear out regularly
The container is the limit. When the blue bin will not close, that is the signal to sew from it or thin it out, not to buy another bin. A short clear-out a few times a year keeps the whole system usable.
- Pull out what will not be used. Fabrics you no longer like, fibers that are hard to sew, pieces that are badly frayed or stained.
- Trim what is awkward. Cut ragged shapes down to squares or strips so they stack and store properly.
- Pass along what is still good. Schools, craft groups and quilting groups sometimes accept clean cotton scraps; ask before dropping anything off.
- Refold and reroll. A few minutes of tidying brings buried prints back into view.
It also helps to choose a project specifically to empty the fullest bin. The roundup of easy fabric scrap projects for beginners is arranged by scrap size, which makes it simple to match a full container to something that will use it.
Small-space setups
Not every sewing space has a shelf to spare. A few compact arrangements work well:
- A hanging shoe organizer with clear pockets on the back of a door, one pocket per color or size.
- A shallow under-bed box holding rolled strips and wrapped cards in a single layer.
- Glass jars on a windowless shelf for squares and crumbs, which doubles as decoration.
- A single drawer with dividers made from cut-down cardboard boxes.
Start with one container type and one grouping method, live with it through a project or two, and adjust from there. A storage system earns its place when reaching for a scrap takes seconds and putting one away takes even less.
Frequently asked questions
Is it better to store fabric scraps by color or by size?
Either works. Storing by size suits sewists who start from patterns that call for strips or squares of a set size. Storing by color suits those who start from a palette. A common compromise is to sort by size first and then sort only the largest group by color.
What containers work best for fabric scraps?
Clear, shallow containers work best because the contents stay visible. Shoebox-size clear bins, jars for small squares and crumbs, and shallow boxes for rolled strips cover most collections.
How do you keep fabric strips from tangling?
Sort strips by width, roll several of the same width together into a coil, secure the roll with a clip or a loop of twine, and stand the rolls on end in a shallow box or drawer.
How many scraps should you keep?
Let the containers set the limit. Decide how much space scraps are allowed, and when a bin will not close, sew from it or thin it out rather than adding another bin.