Scrap Fabric Zipper Pouch: A Small Lined Pouch With an Exact Cutting List
Sew a small lined zipper pouch from twelve 2 1/2-inch squares or a single fabric. Exact cutting sizes, the zipper sandwich explained, and fixes for the usual mistakes.
Project at a glance
Materials
- 12 outer squares, 2 1/2 in (6.5 cm), or 2 outer panels 6 1/2 x 4 1/2 in (16.5 x 11.5 cm)
- 2 lining panels, 6 1/2 x 4 1/2 in (16.5 x 11.5 cm)
- 1 nylon coil zipper, 9 in (23 cm) or longer
- Optional: 2 pieces lightweight fusible interfacing, 6 1/2 x 4 1/2 in
- Thread
- Sewing clips or pins
- Zipper foot
- Iron
- Rotary cutter, ruler and mat, or scissors
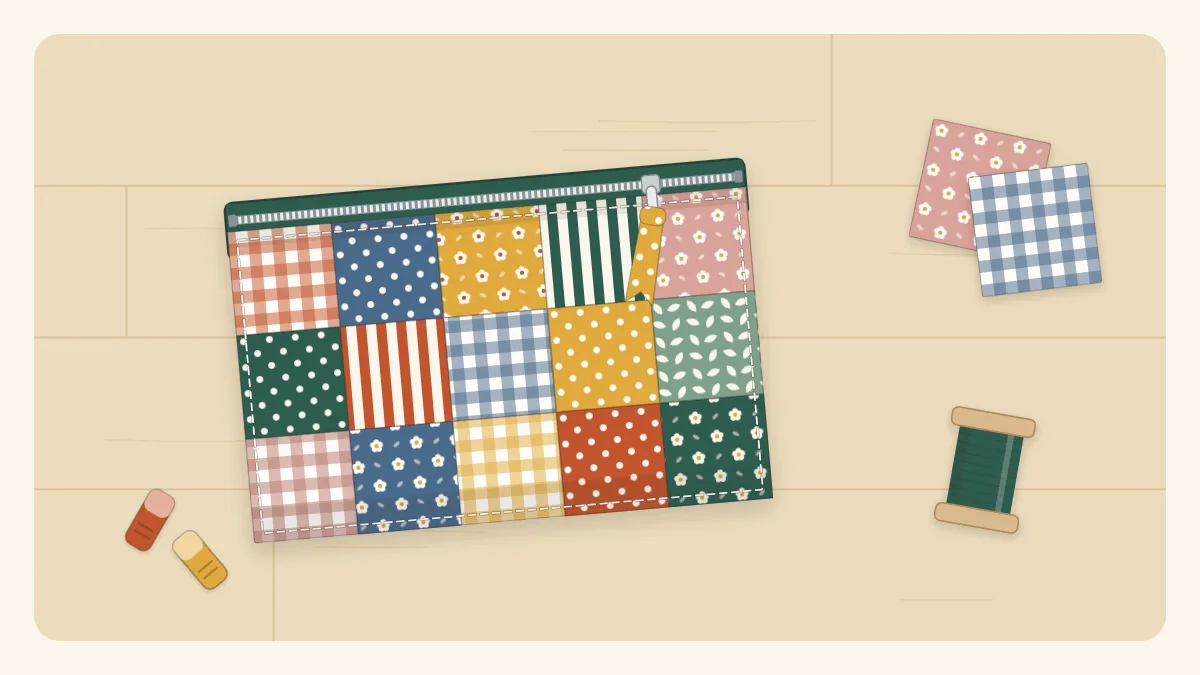
A scrap fabric zipper pouch is the project that takes the fear out of zippers. This one is small, fully lined, and built from four rectangles and one zipper, with no raw edges showing inside or out. The outer can be patchwork made from twelve little squares or a single favorite fabric. The finished pouch measures about 6 by 4 inches (15 by 10 cm), a handy size for coins, earbuds, lip balm or a travel sewing kit.
Materials
- Cotton scraps for the outer and the lining (see the cutting list)
- One nylon coil zipper, 9 inches (23 cm) or longer. It is trimmed to size after sewing, so extra length is helpful, not wasteful.
- Optional: lightweight fusible interfacing, two pieces 6 1/2 by 4 1/2 inches, for a pouch with more body
- Thread, sewing clips or pins, an iron
- A zipper foot for your machine
- Rotary cutter, ruler and mat, or scissors
Watch out
Choose a zipper with nylon coil teeth, not metal or chunky molded plastic. This method sews straight across the zipper, which is safe with a nylon coil but can break a needle on metal teeth.
Cutting list
| Piece | Cut | Size |
|---|---|---|
| Patchwork outer squares | 12 | 2 1/2 x 2 1/2 in (6.5 x 6.5 cm) |
| or single-fabric outer panels | 2 | 6 1/2 x 4 1/2 in (16.5 x 11.5 cm) |
| Lining panels | 2 | 6 1/2 x 4 1/2 in (16.5 x 11.5 cm) |
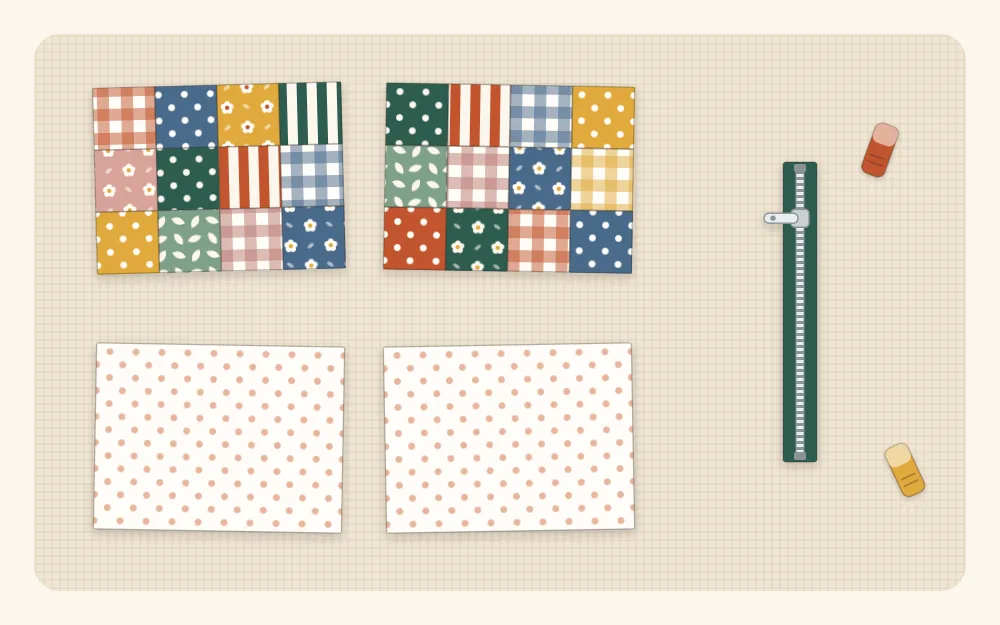
The maths: three 2 1/2-inch squares sewn in a row with 1/4-inch seams make a strip 6 1/2 inches long, and two rows joined make a panel 4 1/2 inches tall. That is exactly the size of the lining, so the patchwork and single-fabric versions are interchangeable from step 2 onward.
How to sew the pouch
- Piece the outer panels. For each panel, sew three squares into a row with a 1/4-inch seam allowance. Make two rows. Press the seams of one row to the left and the other to the right, then sew the rows together so the seams lock against each other. Press. Each panel should measure 6 1/2 by 4 1/2 inches. If patchwork is new to you, patchwork for beginners explains accurate seams and nesting in detail.
- Add interfacing (optional). Fuse the interfacing to the wrong side of each outer panel.
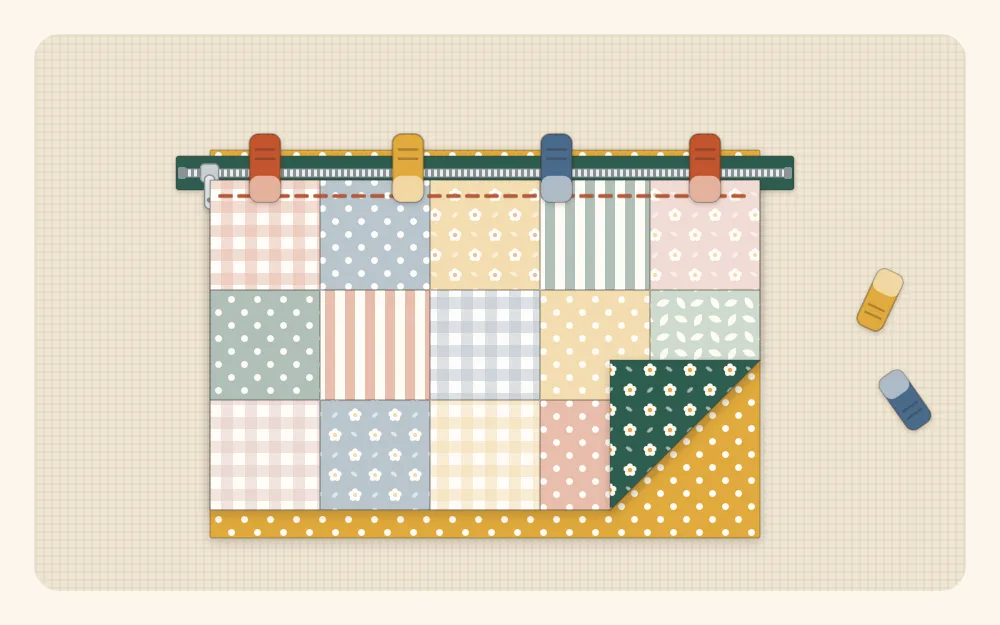
- Make the first zipper sandwich. Lay one lining panel right side up. Place the zipper on top, right side up, with its tape edge along the top long edge of the lining and the extra zipper length sticking out evenly at both ends. Lay one outer panel on top, right side down, top edge matching. The zipper is now hidden between the two fabrics. Clip along the edge.
- Sew the first side. With the zipper foot, sew along the clipped edge with a 1/4-inch seam allowance. When you come close to the zipper pull, stop with the needle down, lift the presser foot, slide the pull past the needle and continue.
- Press and topstitch. Fold both fabrics away from the zipper so their wrong sides face each other. Press along the fold, keeping the iron off the zipper teeth. Topstitch 1/8 inch (3 mm) from the fold through all layers. This keeps the lining from catching in the zipper.
- Repeat on the other side. Lay the second lining panel right side up. Place the sewn piece on top with the outer facing up and the free zipper tape along the top edge. Add the second outer panel right side down. Clip, sew, press and topstitch as before.
- Open the zipper halfway. Move the pull to the middle of the pouch. Do not skip this, or you will not be able to turn the pouch right side out.
- Pin for the side seams. Open the piece out and match the two outer panels right sides together and the two lining panels right sides together. Fold the zipper tape at each side so the teeth point toward the lining. Clip all around.
- Sew around. Stitch around the whole rectangle with a 1/4-inch seam allowance, leaving a 3-inch (7.5 cm) gap in the middle of the lining’s bottom edge. Sew slowly across the zipper, and backstitch over it for strength.
- Trim. Cut the excess zipper ends level with the fabric. Clip the four corners diagonally, staying clear of the stitching.
- Turn and close. Turn the pouch right side out through the gap in the lining. Push out the outer corners with a blunt tool. Fold in the gap edges and sew them shut by machine, close to the fold, or by hand with a ladder stitch.
- Finish. Push the lining inside, work the corners into place and give the pouch a final press.
Tip
Clips hold a zipper sandwich better than pins. They do not distort the zipper tape, and there is nothing to sew over by accident.
Common mistakes
- Zipper closed before the final seam. If it happens, unpick an inch or two beside the zipper, reach in and slide the pull open.
- Pull trimmed off. Always check that the zipper pull sits inside the pouch area before cutting the zipper ends. Once the slider comes off a cut zipper, it is difficult to put back.
- Dented corners by the zipper. These come from the zipper tape folding the wrong way. Point the teeth toward the lining in step 8.
- Lining caught in the zipper. The topstitching in step 5 prevents this; do not leave it out.
- Baggy lining. Sew the lining side seams a thread or two wider than 1/4 inch so the lining is very slightly smaller than the outer.
Variations
- Strip patchwork. Sew narrow strips of any width together until the piece is larger than 6 1/2 by 4 1/2 inches, then trim to size.
- Boxed corners. Before turning, pinch each bottom corner so the side seam lies on the bottom seam, sew across 1/2 inch (1.3 cm) from the point, and trim. Do this on the outer and the lining for a pouch that stands up.
- Zipper pull. Knot a narrow strip of contrasting fabric through the hole in the pull to make it easier to grab.
- Bigger pouch. Add squares in any direction. Four squares across and three down give panels 8 1/2 by 6 1/2 inches; cut the lining to match and use a zipper at least 11 inches long.
With twelve squares on show, fabric choice does a lot of the work. A mix of lights and darks, tied together by one repeated color, reads as deliberate; combining scrap fabric colors walks through how to pick them. When you are ready for another small lined project, the scrap fabric glasses case uses similar layers without a zipper.
Frequently asked questions
What size zipper do I need for a mini pouch?
The panels are 6 1/2 inches wide, so any nylon coil zipper of 9 inches or longer works. The extra length hangs off both ends while you sew and is trimmed away after the side seams are stitched.
Why do I have to open the zipper before sewing the sides?
The pouch is turned right side out through the lining gap and then through the zipper opening. If the zipper is closed, the outer cannot be pulled through.
Can I use a metal zipper?
Not with this method. It sews directly across the zipper teeth, which is fine for a nylon coil but can break a needle on metal teeth. Metal zippers need to be shortened and finished with fabric tabs instead.