Patchwork for Beginners: Seams, Pressing and Your First Blocks
The four habits behind neat patchwork: accurate cutting, a true 1/4-inch seam, pressing to the dark side and nesting seams. Includes a first four-patch and nine-patch from scraps.
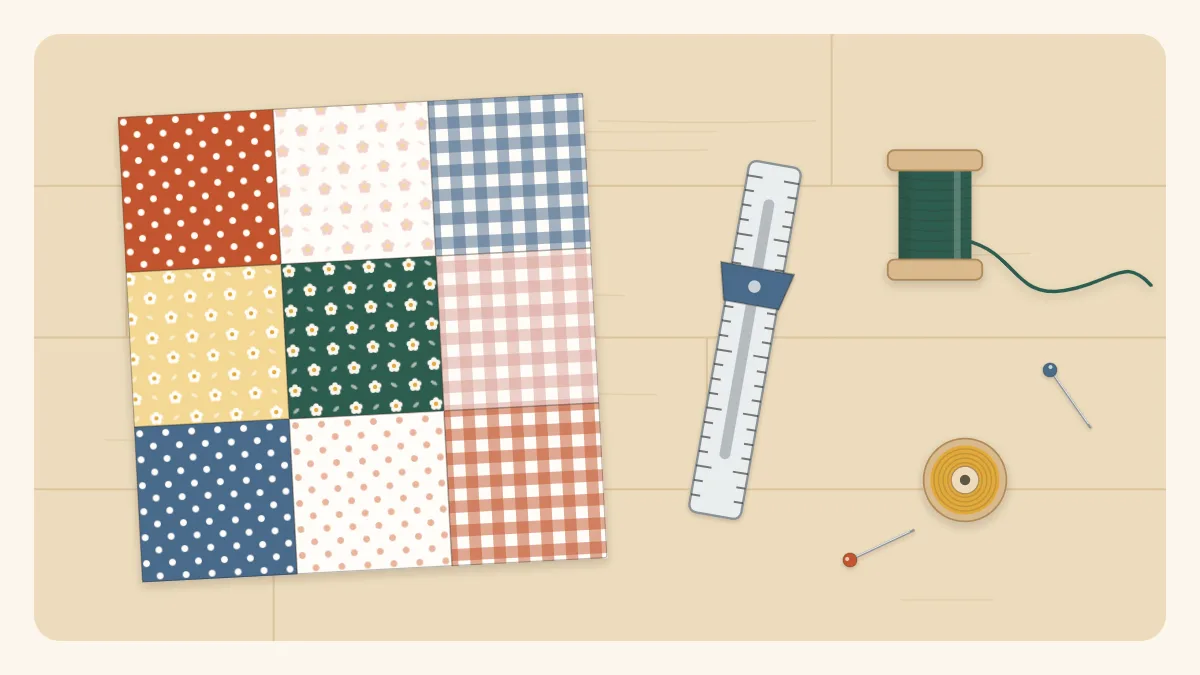
Patchwork is the craft of sewing small pieces of fabric together to make a larger piece. That larger piece might become a quilt, but it can just as easily be a coaster, a cushion front or the side of a pouch. Patchwork for beginners comes down to four habits: cut accurately, sew a consistent 1/4-inch seam, press each seam before crossing it with another, and make opposing seams lock together where they meet. Scraps are ideal for learning all four, because the pieces are small, the stakes are low and the supply is already in the bin.
What you need
- Woven cotton scraps of similar weight, some light and some dark
- Rotary cutter, ruler and mat, or scissors and a marked ruler
- Sewing machine with a straight stitch (hand piecing with a small running stitch also works)
- Neutral cotton or all-purpose thread
- Iron and pressing surface
- Pins or clips, a seam gauge or ruler, and a seam ripper
Squares are the easiest shape to begin with. If the scraps still need trimming, the guide to cutting small fabric scraps shows how to square them up. Both blocks below use 2.5-inch (6.4 cm) squares.
The 1/4-inch seam
Patchwork patterns assume a seam allowance of 1/4 inch (6 mm). Every seam takes 1/4 inch from each of the two pieces it joins, so a patch loses 1/2 inch (1.3 cm) across its width once it is sewn in on both sides. A 2.5-inch square therefore finishes at 2 inches (5 cm). If the seam is even slightly too wide, the error repeats at every seam and the block comes out small.
Place two squares right sides together, with edges even, and sew along one side with the stitching 1/4 inch from the raw edges. Set the stitch length to about 2 mm. Backstitching is not needed in patchwork, because each seam will be crossed and locked by a later one.
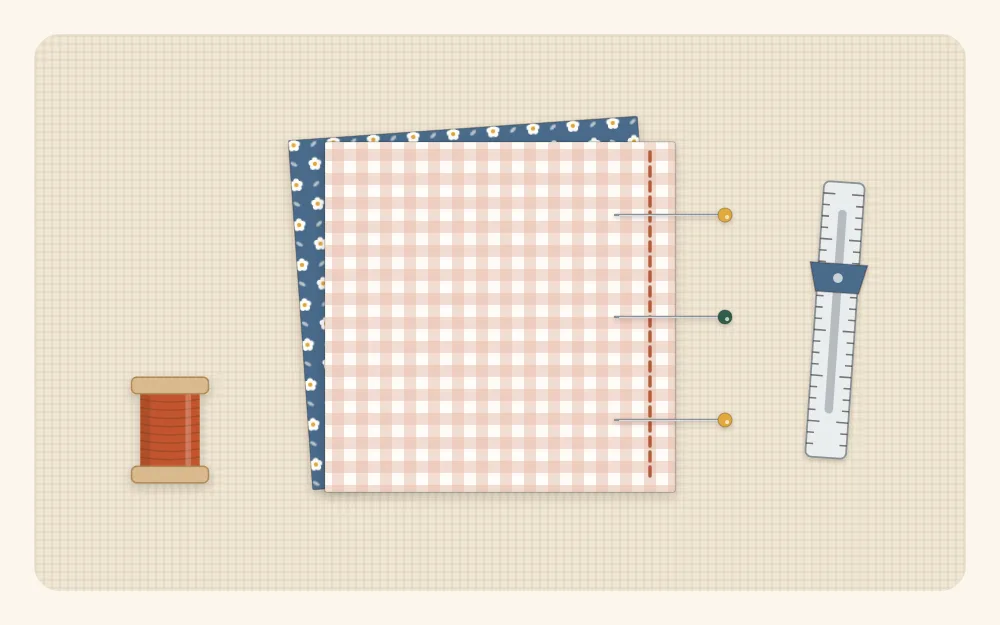
Test the seam before starting
- Cut three strips, each 1.5 x 3.5 inches (3.8 x 8.9 cm).
- Sew them together along the long edges and press the seams to one side.
- Measure across. The unit should be exactly 3.5 inches (8.9 cm) wide, and the center strip exactly 1 inch (2.5 cm) wide.
If the unit is narrower than 3.5 inches, the seams are too wide; if it is wider, they are too narrow. Adjust the needle position, or move the guide, and test again. A 1/4-inch presser foot helps, and so does a strip of painter’s tape stuck to the machine bed exactly 1/4 inch to the right of the needle.
Tip
The fold of a pressed seam uses up a few threads of width. Sewing a hair inside the 1/4-inch mark, often called a scant quarter inch, usually corrects a test unit that comes out slightly narrow.
Chain piecing
Chain piecing means feeding pairs through the machine one after another without cutting the thread in between. Sew the first pair, stop at the end of the seam, slide the next pair under the foot so that it almost touches the first, and keep going. The pairs come out in a string joined by a few stitches of thread. Snip them apart afterwards. It is faster, uses less thread and helps stop the machine from pulling the corner of a small piece down into the needle plate.
Pressing seams to the dark side
Each seam is pressed before another seam crosses it. In patchwork, both seam allowances are usually pressed together to one side, toward the darker fabric, so that the dark allowance does not show through the lighter patch.
- Set the seam. Press the stitched pair flat, just as it was sewn, to sink the stitches into the fabric.
- Open and press. Lay the pair with the darker square on top, lift it open and run the edge of the iron along the seam from the right side. The allowances will fall under the dark square.
Press by lowering and lifting the iron. Pushing it back and forth, as when ironing a shirt, stretches small pieces out of shape.
A first four-patch
You need four 2.5-inch (6.4 cm) squares: two light and two dark. The block measures 4.5 inches (11.4 cm) square when sewn and finishes at 4 inches (10.2 cm) once it is stitched into a project.
- Lay the squares out two by two in a checkerboard: dark and light on the top row, light and dark on the bottom row.
- Sew each row into a pair, chain piecing the two pairs. Each pair measures 2.5 x 4.5 inches (6.4 x 11.4 cm).
- Press each seam toward the dark square. Because the dark squares sit on opposite sides in the two rows, the seams now point in opposite directions.
- Place the two rows right sides together and nest the seams (see below). Pin at the center seam.
- Sew the long edge with a 1/4-inch seam. Press this last seam to one side.
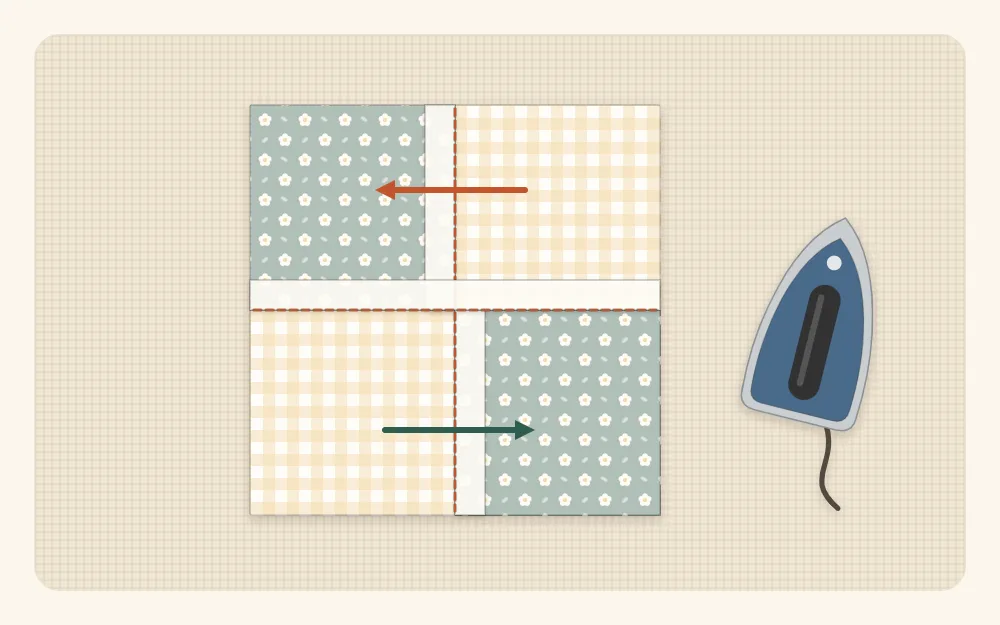
Nesting seams
Where two pressed seams meet, each one forms a small ridge. If the two ridges point in opposite directions, they slide up against each other and lock, which lines up the seams exactly and spreads the bulk on both sides of the join. Pinch the two rows together at the seam until the ridges butt up, pin there and sew across. From the front, the four corners should meet in a neat cross.
Next: a nine-patch
You need nine 2.5-inch (6.4 cm) squares: five dark and four light. The block measures 6.5 inches (16.5 cm) square when sewn and finishes at 6 inches (15.2 cm).
| Row | Layout | Press seams |
|---|---|---|
| Top | Dark, light, dark | Outward, toward the dark squares |
| Middle | Light, dark, light | Inward, toward the dark center |
| Bottom | Dark, light, dark | Outward, toward the dark squares |
- Lay out the nine squares as in the table.
- Sew the squares of each row together. Each row measures 2.5 x 6.5 inches (6.4 x 16.5 cm).
- Press as shown. Pressing toward the dark squares automatically makes the middle row’s seams oppose those of the top and bottom rows.
- Join the top row to the middle row, nesting and pinning at both seam crossings. Add the bottom row the same way.
- Press the two long seams in the same direction, or both away from the middle row.
Watch out
Close the rotary cutter guard after every cut, and keep the iron resting on its heel with the cord away from the table edge. Sewing over pins can break a needle; pull each pin out just before it reaches the presser foot.
Common beginner problems
- The block is too small. The seams are wider than 1/4 inch. Repeat the three-strip test.
- Corners do not meet. Seams were not nested, or the pieces shifted. Pin at each crossing.
- Dark fabric shadows through. A seam was pressed toward the light square. Re-press it the other way.
- The pattern is hard to see. The lights and darks are too close in value. The guide to combining scrap fabric colors explains how to check contrast.
What to make with the blocks
A single four-patch is the top of a scrap fabric pincushion. A nine-patch with batting and a backing becomes a mug rug or a small mat. For a larger first project, a patchwork cushion cover uses a simple grid of squares and exactly the same skills: accurate seams, pressing in alternate directions from row to row, and nesting at every crossing.
Frequently asked questions
What seam allowance is used for patchwork?
The standard is 1/4 inch (6 mm). Each seam takes 1/4 inch from both pieces it joins, so a square loses 1/2 inch in width once it is sewn in on both sides. A 2.5-inch cut square finishes at 2 inches.
Should patchwork seams be pressed open or to one side?
Pressing both allowances to one side, toward the darker fabric, is the usual choice for beginners. It is quick, keeps dark fabric from showing through light patches and lets seams nest where they cross. Pressing open is sometimes used to reduce bulk where many seams meet.
What does nesting seams mean?
When two seams that will cross have been pressed in opposite directions, their ridges butt up against each other and lock together. This aligns the seams accurately and spreads the thickness to both sides of the join.
Can patchwork be sewn by hand?
Yes. Mark the 1/4-inch seam line on the wrong side of the fabric, then sew along it with a small, even running stitch and an occasional backstitch. It is slower than machine piecing but just as accurate.