Scrap Fabric Key Fob: A Quick Wristlet Tutorial
Turn one 5 x 10 inch strip, or a handful of pieced scraps, into a sturdy wristlet key fob with a metal clamp. Includes webbing-core and D-ring alternatives.
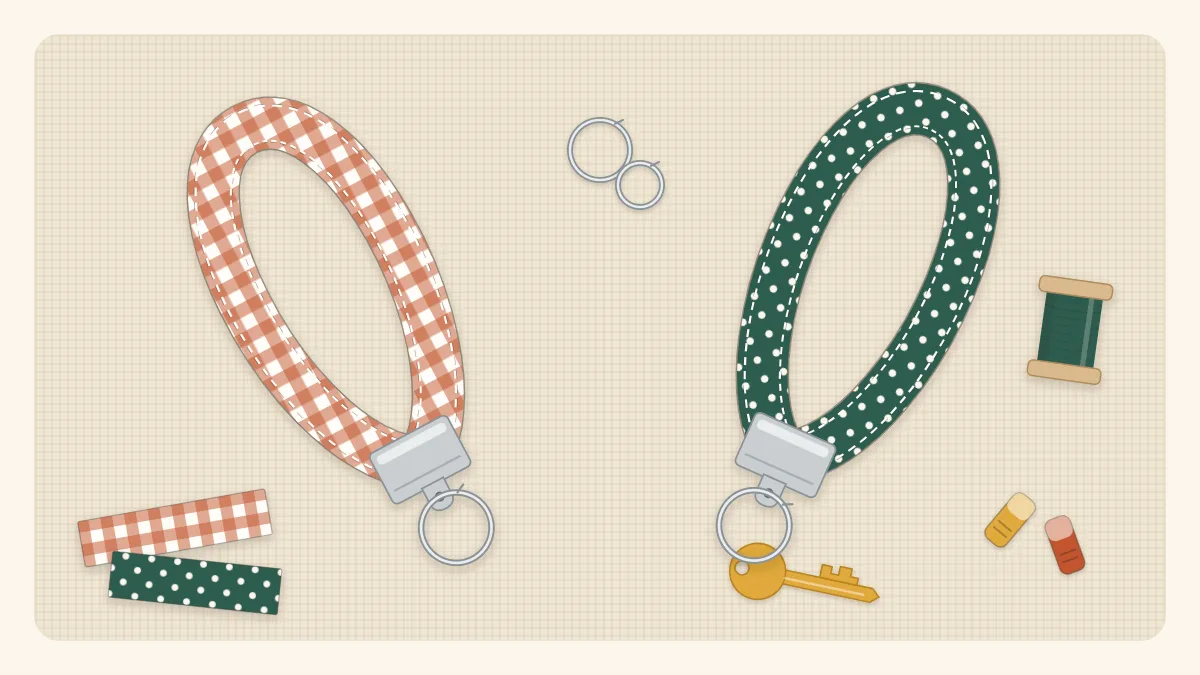
Project at a glance
Materials
- Fabric strip 5 x 10 in (12.7 x 25.5 cm)
- Medium-weight fusible interfacing 2.5 x 10 in (6.4 x 25.5 cm)
- 1.25 in (32 mm) key fob clamp with split ring
- Thread and a size 90/14 needle
- Flat-nose pliers with a fabric scrap to pad the jaws
- Iron, ruler, sewing clips
A scrap fabric key fob is one of the quickest ways to turn a single strip of a favorite print into something used every day. It is a short wrist loop, stiffened so it holds its shape, finished with a metal clamp and a key ring. One strip, four folds, two lines of stitching and a squeeze of the pliers, and the keys are easy to find at the bottom of a bag.
What you need
- One fabric strip, 5 x 10 inches (12.7 x 25.5 cm), in quilting cotton, or several smaller scraps to piece together
- Medium-weight fusible interfacing, 2.5 x 10 inches (6.4 x 25.5 cm)
- One 1.25-inch (32 mm) key fob clamp with a split ring
- Thread to match or contrast
- A size 90/14 needle, or a denim needle for thicker fabrics
- Iron, ruler, rotary cutter or scissors, sewing clips
- Flat-nose pliers and a scrap of fabric or felt to pad the jaws
Matching the strip to the hardware
Key fob clamps are sold by width. The finished strap should be exactly as wide as the clamp, and because the strip is folded into four layers, the cut width is the hardware width multiplied by four.
| Clamp width | Cut strip width | Interfacing width | Finished strap |
|---|---|---|---|
| 1 in (25 mm) | 4 in (10 cm) | 2 in (5 cm) | 1 in wide |
| 1.25 in (32 mm) | 5 in (12.7 cm) | 2.5 in (6.4 cm) | 1.25 in wide |
A 10-inch length folds into a loop about 5 inches (13 cm) long, which slips comfortably over most adult hands. Add an inch for a roomier loop.
How to sew a scrap fabric key fob
- Fuse the interfacing. Press the fabric strip flat. Center the interfacing on the wrong side, glue side down, so that 1.25 inches of bare fabric shows along each long edge. Fuse following the interfacing instructions. Those two middle quarters become the outside faces of the strap.
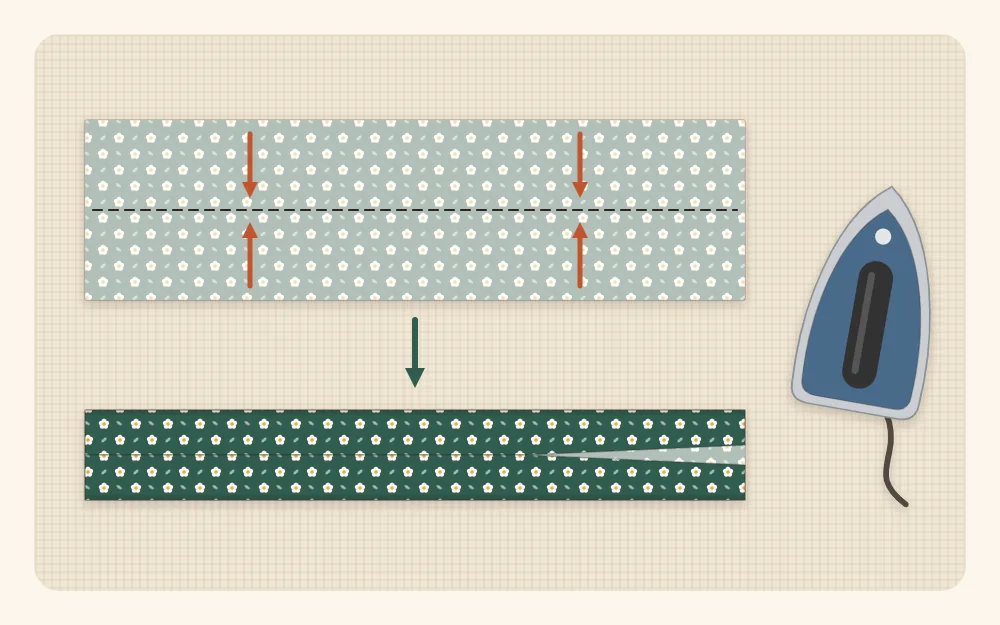
- Press the center crease. Fold the strip in half lengthwise, wrong sides together, and press. Open it out again.
- Fold the edges to the center. Bring each long raw edge in to meet the center crease and press. The strip is now 2.5 inches wide with both raw edges hidden in the middle.
- Fold in half again. Fold along the original crease so the folded edges meet. The strap is now 1.25 x 10 inches and four layers thick. Hold it with clips rather than pins, which distort a thick strap.
- Topstitch. Lengthen the stitch to about 3 mm. Stitch 1/8 inch from the open long edge first, then 1/8 inch from the folded edge so both sides match. Sew both lines in the same direction to keep the strap from twisting.
- Form the loop. Fold the strap in half, short raw ends together, without twisting it. Stitch across the two ends 1/8 inch from the edge to hold them as one.
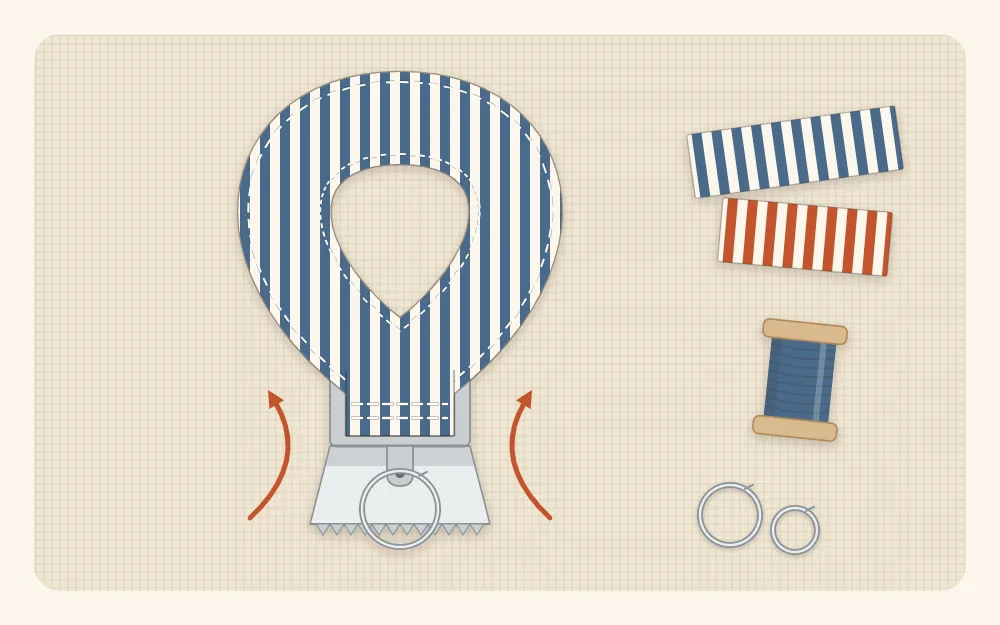
- Attach the clamp. Trim any stray threads so the end is clean and square. Seat the raw end fully inside the open clamp, checking that it is centered and that no fabric shows at the sides. Wrap the padded pliers around the clamp and squeeze firmly in the middle, then at each side, until the teeth bite and the clamp is closed evenly.
- Add the ring. Thread the split ring through the clamp loop if it is not already attached.
Tip
For extra security, put a small dab of fabric glue on the raw end before seating it in the clamp, and let it dry fully before hanging keys on it.
Pieced strip option
Scraps too short for a 10-inch strip can be joined end to end. Cut five pieces, each 2.5 x 5 inches (6.4 x 12.7 cm). Sew them together along the 5-inch sides with a 1/4-inch seam allowance. Five pieces at 2.5 inches make 12.5 inches, less 1/2 inch for each of the four seams, which leaves a strip 10.5 inches long. Press the seams open to spread the bulk, then trim the strip to 10 inches, taking a little from each end.
Fuse the interfacing over the pressed seams and carry on from step 2. Narrow strips, selvages and uneven widths all work, as long as the joined strip ends up 5 inches wide and at least 10 inches long. For help getting small pieces straight and square, see the guide to cutting small fabric scraps.
Webbing core option
Cotton webbing makes a firmer fob and needs less folding. Cut a piece of 1.25-inch webbing 10 inches long. Cut a fabric strip 2 x 10 inches (5 x 25.5 cm) and press 1/2 inch to the wrong side along both long edges, giving a 1-inch-wide strip. Center it on the webbing so 1/8 inch of webbing shows along each side, and stitch close to both folded edges. Form the loop and attach the clamp as before. No interfacing is needed.
No clamp? Use a D-ring or split ring
A fob can be finished without the clamp. Make the strap from a strip 11 inches (28 cm) long. Overlap the two short ends by 1/2 inch to form a ring and zigzag back and forth across the overlap. Slide a 1.25-inch D-ring, or a large split ring, onto the loop. Flatten the loop with the ring sitting in one fold and the overlapped join about 3/4 inch below it. Sew across both layers 1/2 inch below the ring, stitching forward and back two or three times, so the ring is trapped in a small channel and the join sits just under the stitching.
Watch out
Eight layers of fabric and interfacing are a lot for a domestic machine. Sew slowly, turn the handwheel by hand over the thickest parts, and never pull the strap through. Key rings and small hardware are not suitable for children under three.
Common mistakes
- Strap wider than the clamp. The folds were not pressed right to the crease. Measure the folded strap before stitching; it should match the clamp exactly.
- Bare pliers on the clamp. Unpadded jaws scratch the metal. Fold a scrap of fabric or felt over the clamp first.
- Clamp closed at an angle. Squeeze the middle first, check from both sides, then close the edges.
- A pieced seam at the very end. Extra bulk stops the clamp closing. Plan the piecing so no seam falls within 1/2 inch of either short end.
- Heavy fabric folded four times. Denim and canvas are too thick for this method. Use the webbing option with a single fabric layer on top.
Variations
- Stitch a length of ribbon down the middle before forming the loop.
- Make a short version from a 6-inch strip for a 3-inch tab that hangs from a bag zipper.
Key fobs are small enough to make in batches, which is why they turn up so often among scrap fabric gift ideas. Paired with a scrap fabric zipper pouch in the same prints, one makes a tidy matching set.
Frequently asked questions
How wide should the fabric be for a key fob?
Cut the strip four times as wide as the clamp. A 1.25-inch clamp needs a 5-inch-wide strip, and a 1-inch clamp needs a 4-inch-wide strip. Folded into four layers, the strap matches the hardware.
Can a key fob be made without special pliers?
Yes. Ordinary flat-nose pliers work if the jaws are padded with a folded fabric or felt scrap so they do not scratch the clamp. Squeeze the middle first, then each side.
What can be used instead of interfacing?
A 10-inch length of 1.25-inch cotton webbing makes a firm core. Cover it with a 2 x 10 inch fabric strip that has 1/2 inch pressed under along both long edges, and stitch close to the folds.
How long should a wristlet key fob be?
A 10-inch strip gives a loop about 5 inches long, which suits most adult hands. Cut the strip 11 inches long for a looser loop.