Crumb Quilting Blocks: Making New Fabric From the Smallest Scraps
Crumb quilting turns the smallest odd-shaped scraps into pieced fabric: sew pairs, press, trim an edge, add more, then trim the panel to a block size.
Project at a glance
Materials
- Pressed cotton crumbs and small odd-shaped scraps
- Neutral sewing thread
- Rotary cutter, cutting mat and small ruler
- Square ruler, 6.5 in (16.5 cm) or the chosen block size
- Iron, optional spray starch
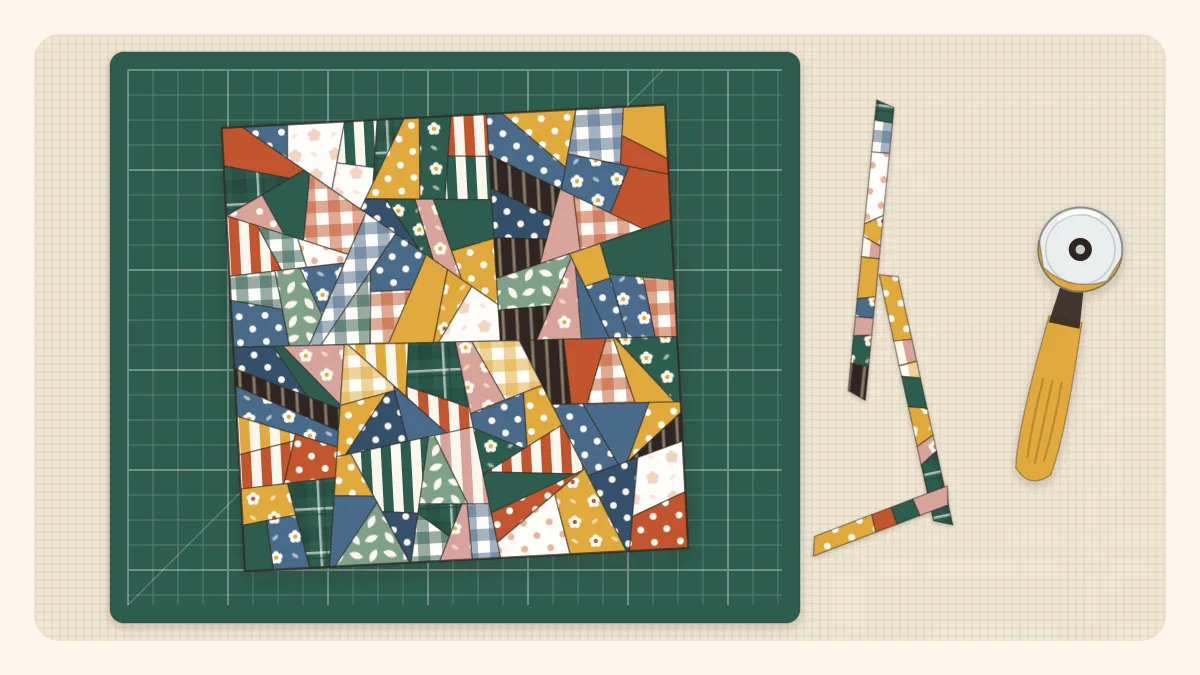
Crumb quilting starts where most cutting stops. The slivers, corners and odd triangles left after trimming other projects are sewn together, more or less at random, until they form a piece of “new fabric” big enough to cut a block from. There is no pattern and no cutting list, only a short routine: sew two crumbs together, press, trim one edge straight, add another piece, and repeat.
Because nothing has to match, crumb blocks are relaxing to sew and hard to get wrong. They are also a practical answer to the bag of bits that feels too good to throw out and too small to use.
What counts as a crumb
A crumb is any scrap too small or too irregular for standard squares and strips. For this method, a useful crumb is at least 1 inch (2.5 cm) across in both directions. Anything smaller disappears into the seam allowances; there are other uses for those in the guide to what to do with tiny fabric scraps.
- Triangles cut from the corners of other blocks
- Ends of strips and binding
- Wedges and slivers from squaring up fabric
- Leftover units from earlier patchwork, such as a spare four-patch
Keep to fabrics of similar weight, ideally quilting cotton. Press the crumbs flat before starting; creased scraps give inaccurate seams.
Tools and settings
- A bowl or bag of pressed crumbs
- Sewing machine with a neutral thread such as gray or beige
- Iron and pressing surface close to the machine
- Rotary cutter, cutting mat and a small ruler for straightening edges
- A square ruler the size of the unfinished block, for example 6.5 inches (16.5 cm)
Shorten the stitch length to about 1.5 to 1.8 mm. Crumb seams are cut across again and again, and short stitches stop them from unraveling at the cut ends. Use a 1/4-inch seam allowance. It does not have to be perfect here, but it should not be narrower.
Step by step: making crumb fabric
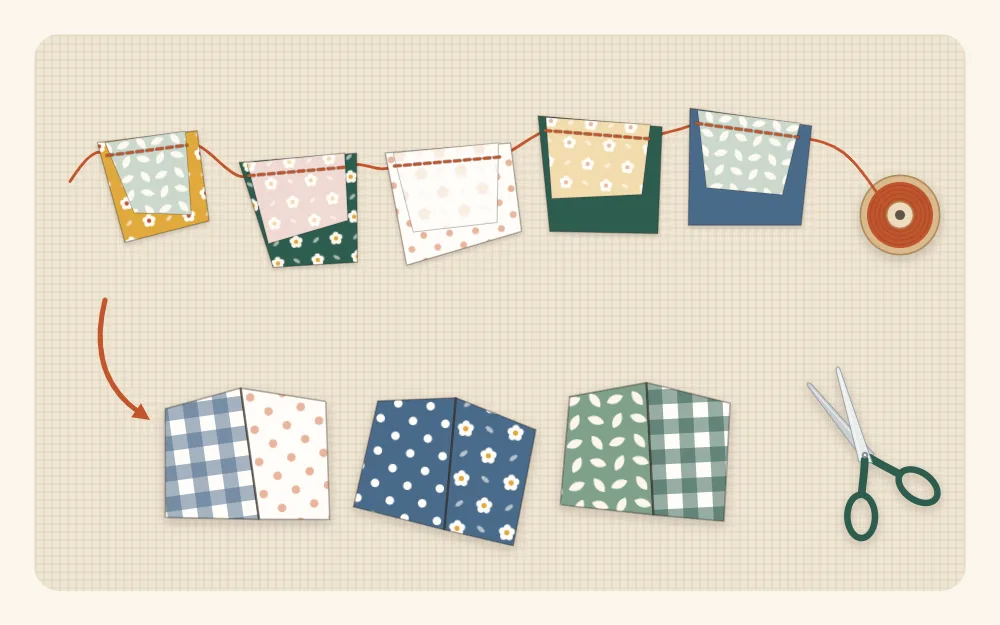
- Sew pairs. Pick two crumbs that each have a roughly straight edge of similar length. Place them right sides together with those edges matching and sew. Without cutting the thread, feed the next pair under the needle, and the next. This chain piecing produces a string of ten or twenty pairs joined by short lengths of thread.
- Snip and press. Cut the pairs apart. Press each seam to one side, toward the darker fabric or whichever way it lies flatter.
- Straighten one edge. Lay a pair on the mat and trim one side straight with the ruler and rotary cutter, cutting across the seam. The cut can be at any angle. Angled cuts give the lively, tumbled look that crumb blocks are known for.
- Add a third piece. Find a crumb, or another pair, at least as long as the straightened edge. Sew it on, press, and trim off anything that overhangs.
- Keep building. Straighten another edge and add again, turning the unit so it grows on different sides. Chain piece several units at once so there is always something to press and something to sew.
- Join units to each other. When units reach about 3 inches across, straighten an edge on two of them and sew them together. Larger chunks grow quickly this way. Fill a short side by sewing two small crumbs together first to make a piece long enough.
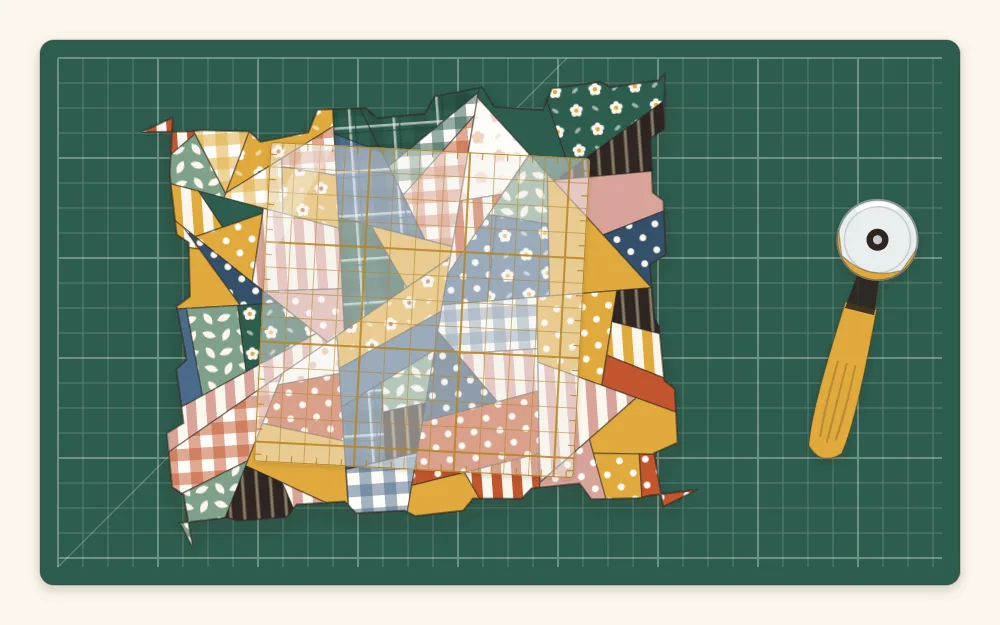
- Check the size. Stop when the panel is at least 1/2 inch larger than the block on every side. For a 6.5-inch block, that means a panel no smaller than 7.5 inches in both directions at its narrowest.
- Press well. Press the whole panel from the back, then from the front, with steam if the fabrics allow. A light mist of spray starch helps flatten a panel with many seams.
- Trim to size. Lay the square ruler on the panel and slide and turn it until the most interesting area sits inside and no bulky seam junction falls right at a corner. Cut along two sides, turn the panel, realign the ruler on the cut edges, and cut the other two.
- Stay-stitch the edges. Sew around the block 1/8 inch from the edge. Crumb blocks have seams and bias grain running to the edge in every direction, and this line of stitching keeps the block from stretching and the seams from opening.
Tip
Save the offcuts from trimming the block. They are already pieced and often large enough to start the next panel.
Block sizes that work well
Cut the block 1/2 inch larger than the finished size to allow for the 1/4-inch seams on all four sides.
| Trim block to | Finished size in a project | Good for |
|---|---|---|
| 4.5 in (11.5 cm) | 4 in (10 cm) | Coasters, pincushions, mixing with plain squares |
| 6.5 in (16.5 cm) | 6 in (15 cm) | Quilt blocks, pouches, mug rugs |
| 8.5 in (21.5 cm) | 8 in (20.5 cm) | Pot holders, cushion fronts, larger quilts |
Keeping the chaos pleasant to look at
- Mix values. Put lights next to darks so the individual pieces show. A panel of all medium tones turns to mud.
- Repeat a color. One color that turns up in most blocks, such as a scatter of red or a constant white, ties a whole quilt together.
- Limit the palette if needed. Sorting crumbs into warm and cool bowls and making blocks from one bowl at a time gives a calmer result.
- Vary the piece size. A few larger pieces among the tiny ones give the eye somewhere to rest.
Watch out
Trimming small units brings fingers close to the rotary blade. Use a small ruler that covers the piece, press down firmly with fingertips well back from the edge, and close the blade guard after every cut.
Common mistakes
- Skipping the pressing. Unpressed seams create tucks that make the panel shrink and pucker. Press after every round of sewing.
- Not trimming straight edges. Sewing a straight piece to a curved or ragged edge makes a panel that will not lie flat.
- Pieces that are too small. Crumbs under an inch produce more seam allowance than visible fabric, and a block that is stiff and thick.
- Stitches too long. Seams come apart at the cut edges. Shorten the stitch before starting.
- Trimming too early. A panel only just bigger than the ruler leaves no room to choose the best area.
What to make with crumb blocks
- Use an 8.5-inch block as the top of a scrap fabric pot holder, provided every crumb, the thread and the batting are 100% cotton.
- Substitute 4.5-inch crumb blocks for some of the plain squares in a patchwork cushion cover.
- Frame each block with plain strips, called sashing, and join them into a quilt top. The plain fabric calms the busy piecing.
- Make long crumb strips instead of squares and use them as borders or as the strings in a string quilt block.
Frequently asked questions
What is crumb quilting?
Crumb quilting is a way of sewing very small, irregular fabric scraps together at random to make a pieced panel, which is then trimmed to a regular block size and used like any other patchwork block.
How small can the scraps be for crumb blocks?
Pieces at least 1 inch across in both directions work best. Smaller pieces are mostly taken up by the 1/4-inch seam allowances and make the block thick and stiff.
What stitch length is best for crumb piecing?
A short stitch of about 1.5 to 1.8 mm. The seams are cut across many times during trimming, and short stitches are less likely to unravel at the cut ends.
Do crumb blocks need a foundation?
No. Crumbs can be sewn to each other without any backing. Stay-stitching 1/8 inch from the edge of the trimmed block keeps it stable. Some sewists prefer to sew onto a paper or muslin foundation, which is a matter of choice.