Scrap Fabric Pot Holder: A Quilted Patchwork Tutorial
Sew a quilted patchwork pot holder from sixteen cotton squares, with cotton batting, an insulating layer and a hanging loop. Bound and turned-edge versions included.
Project at a glance
Materials
- 16 top squares, 2 1/2 in (6.5 cm), 100% cotton
- 1 backing square, 9 in (23 cm), 100% cotton
- 1 square 100% cotton batting, 9 in (23 cm)
- 1 square insulating layer, 9 in (23 cm): insulated batting, a second layer of cotton batting or cotton terry cloth
- Binding strips 2 1/4 in (5.7 cm) wide, 44 in (112 cm) total, 100% cotton
- 1 strip for the hanging loop, 2 x 5 in (5 x 13 cm)
- 100% cotton thread
- Pins or clips
- Iron
- Ruler and erasable fabric marker
- Rotary cutter and mat, or scissors
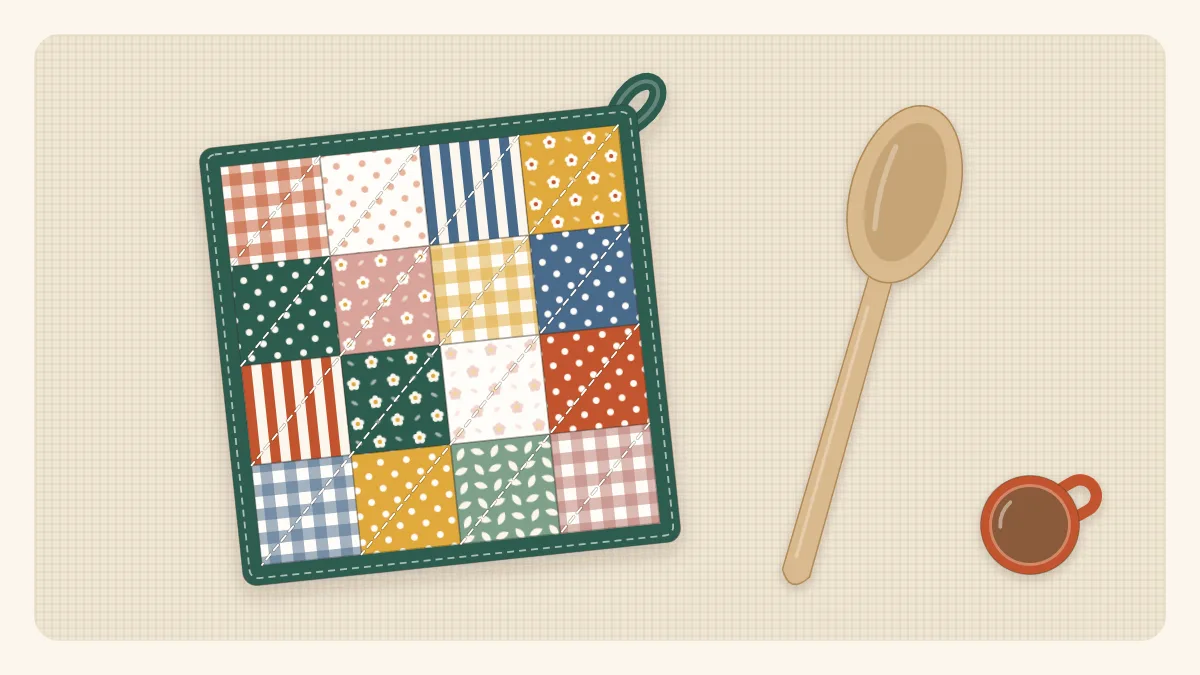
A scrap fabric pot holder is patchwork with a job to do. Sixteen small squares make the top, two layers of padding go inside, and a few lines of quilting hold everything together. Because it has to stand between a hand and a hot dish, the materials matter as much as the sewing, so this tutorial starts with what goes into it and why.
Cotton only: the safety rule
Watch out
Use 100% cotton fabric, 100% cotton thread and 100% cotton batting, plus an insulating layer. Never use polyester fabric, polyester thread or polyester batting in a pot holder: polyester can melt when it gets hot, and melted fiber sticks to skin.
If you are not sure a scrap is all cotton, leave it out of this project. A single layer of cotton batting is not enough on its own, so add an insulating layer as well. The usual options are:
- Insulated batting made for pot holders, which has a heat-reflective film inside. It is not microwave safe.
- A second layer of cotton batting.
- Cotton terry cloth cut from an old, clean 100% cotton towel.
No fabric pot holder gives unlimited protection. Use it for lifting and moving, not for holding a hot dish for a long time, and never use it damp: water carries heat straight through the layers.
Materials and cutting list
| Piece | Cut | Size |
|---|---|---|
| Top squares, cotton prints | 16 | 2 1/2 x 2 1/2 in (6.5 x 6.5 cm) |
| Backing, cotton | 1 | 9 x 9 in (23 x 23 cm) |
| Cotton batting | 1 | 9 x 9 in (23 x 23 cm) |
| Insulating layer | 1 | 9 x 9 in (23 x 23 cm) |
| Binding strips, cotton | to total 44 in (112 cm) | 2 1/4 in (5.7 cm) wide |
| Hanging loop, cotton | 1 | 2 x 5 in (5 x 13 cm) |
You will also need cotton thread, pins or clips, an iron, a ruler and an erasable fabric marker, and a rotary cutter and mat or scissors. Close the blade guard on a rotary cutter every time you put it down. The finished pot holder is 8 1/2 inches (21.5 cm) square.
Step 1: Piece the top
- Arrange the 16 squares in four rows of four, moving them around until lights and darks are spread evenly.
- Sew the squares in each row together with a 1/4-inch seam allowance. Each row measures 2 1/2 by 8 1/2 inches.
- Press the seams of rows one and three to the right and rows two and four to the left.
- Sew the rows together, locking the opposing seams against each other at every join. Press the long seams in one direction. The top measures 8 1/2 inches square.
If the rows come out uneven, see patchwork for beginners for how to check the seam allowance.
Step 2: Stack and quilt
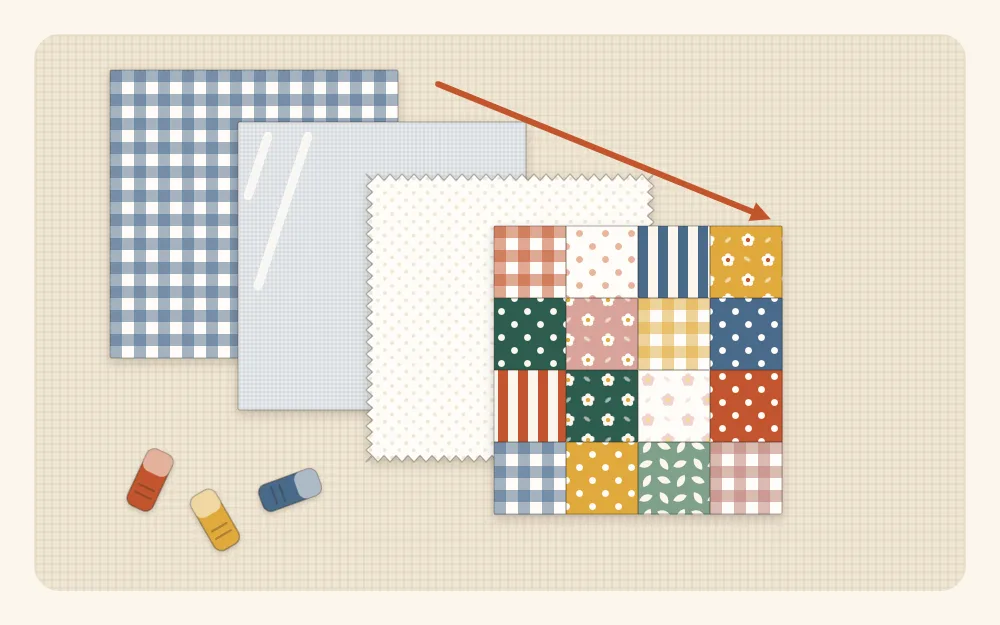
- Lay the backing wrong side up. Place the insulating layer on it, then the cotton batting, then the patchwork top right side up, centered. If you are using insulated batting with a shiny side, follow the manufacturer’s advice on which way it should face.
- Pin through all layers, working from the center outward.
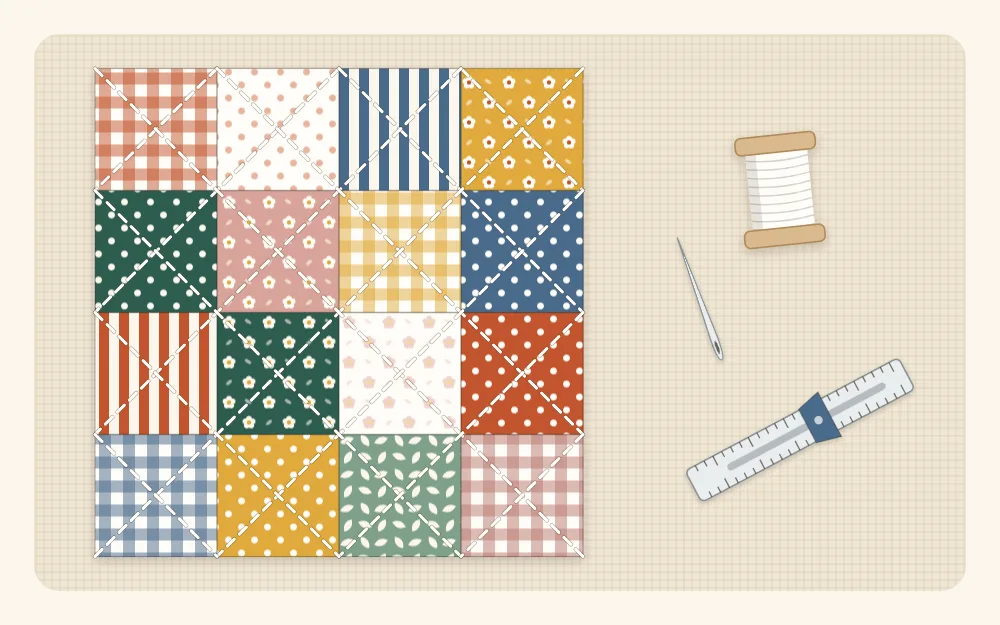
- Mark diagonal lines from corner to corner through the squares, in one direction or both. Lines through every row of squares are about 1 3/8 inches (3.5 cm) apart.
- Lengthen the stitch to about 3 mm and quilt along the lines, starting with the center diagonal and working out to each side.
- Trim the backing and padding level with the edges of the patchwork top, so the whole piece is 8 1/2 inches square with square corners.
Step 3: Make and attach the hanging loop
- Fold the 2 by 5-inch strip in half lengthwise, wrong sides together, and press. Open it, fold both long edges in to the center crease, then fold in half again. The strip is now 1/2 inch (1.3 cm) wide.
- Stitch along the open long edge, close to the folds.
- Fold the strip into a loop with the two ends side by side. On the backing side, place the ends at one corner, level with the raw edge, with the loop lying across the pot holder. Stitch across the ends 1/8 inch from the edge to hold them.
Step 4: Bind the edge
- Join the binding strips end to end with 1/4-inch seams and press the seams open. Fold the strip in half lengthwise, wrong sides together, and press.
- Starting in the middle of one side and leaving a 3-inch (7.5 cm) tail unsewn, place the binding on the patchwork side with all raw edges level. Sew with a 1/4-inch seam allowance.
- Stop 1/4 inch before the corner and backstitch. Fold the binding straight up, away from the pot holder, then straight back down along the next side so the fold sits level with the edge. Start sewing again from the edge. Repeat at every corner.
- Stop about 4 inches before the starting point. Trim the end so it overlaps the start by 1 inch (2.5 cm), fold the raw end of the starting tail under by 1/2 inch, tuck the trimmed end inside it and finish the seam.
- Fold the binding over to the back, covering the stitching and the ends of the loop. Clip it in place and sew it down by hand with small stitches, or by machine from the front, stitching in the seam line.
- Fold the loop up so it points away from the pot holder and stitch across it on the binding to hold it there.
Tip
Binding uses up short scraps: join several prints until the strip reaches 44 inches.
Easier option: a turned edge
To skip the binding, cut the backing, batting and insulating layer 8 1/2 inches square. Stack the batting and insulating layer, then the top right side up, then the loop at one corner with its ends level with the edge and the loop pointing inward, then the backing right side down. Sew around with a 1/4-inch seam allowance, leaving a 4-inch (10 cm) gap on one side. Trim the padding close to the stitching, clip the corners, turn right side out and press. Topstitch 1/8 inch from the edge to close the gap, then quilt the diagonal lines. This version finishes at 8 inches (20 cm) square, the same turned-and-topstitched construction used for fabric scrap coasters.
Common mistakes
- Layers shifting while quilting. Pin more closely and quilt from the center outward.
- Skipped stitches. Fit a fresh, slightly heavier needle, such as a size 90/14, for the thick stack.
- Binding too tight at the corners. Make sure each corner fold reaches the edge before sewing the next side.
- Too thin. Hold the finished pot holder against something warm, not hot, as a first test. If warmth comes through quickly, keep it as a trivet and add a layer to the next one.
Squares of exactly the same size are what make the top lie flat. For help getting them accurate, see cutting small fabric scraps.
Frequently asked questions
Why should a pot holder be made only from cotton?
Polyester can melt when it gets hot, and melted fiber sticks to skin. Use 100% cotton fabric, thread and batting, together with an insulating layer.
What can I use as the insulating layer in a pot holder?
Insulated batting made for pot holders, a second layer of cotton batting, or cotton terry cloth cut from a clean 100% cotton towel. Insulated batting with a heat-reflective film is not microwave safe.
Is a bound or a turned edge better for a pot holder?
A turned edge is quicker and easier for a first pot holder. A bound edge takes longer but lets you quilt the layers flat before finishing, handles thick layers neatly and uses up short binding scraps.
Can I use a pot holder when it is damp?
No. Water carries heat quickly through the fabric layers, so a damp or wet pot holder can cause a burn. Let it dry completely before use.