Patchwork Cushion Cover: A 16-Inch Envelope-Back Tutorial
Sew a 16-inch patchwork cushion cover from sixteen 4.5-inch squares with a simple envelope back. Every cut size and seam is worked out in a table.
Project at a glance
Materials
- 16 fabric squares, 4.5 x 4.5 in (11.5 x 11.5 cm)
- 2 back panels, 16.5 x 11.5 in (42 x 29 cm)
- 16 in (40.5 cm) cushion insert
- Optional thin cotton batting or lightweight fusible interfacing, 16.5 in square
- Thread, pins or clips
- Rotary cutter, ruler, cutting mat and iron
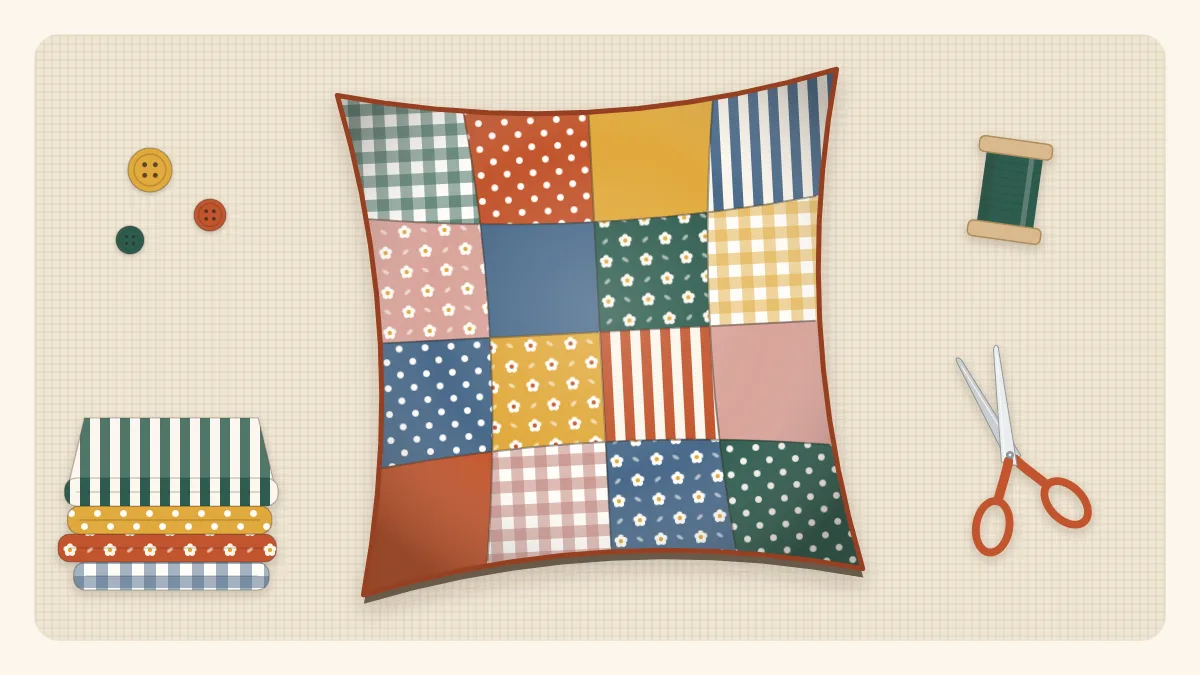
Sixteen squares, two back panels and no zipper: a patchwork cushion cover is the natural next step after a first patchwork block, and it puts a good handful of larger scraps on show. This version makes a 16-inch (40.5 cm) cover from 4.5-inch squares with an envelope back, so the cover slips off for washing. Every measurement is worked through below, so the pieces fit the first time.
The maths, laid out
All seams are 1/4 inch. Each seam takes 1/4 inch from both pieces it joins, so every seam uses up 1/2 inch of fabric in total.
| Stage | Calculation | Result |
|---|---|---|
| One row of four squares | 4 x 4.5 in, less 3 seams x 1/2 in | 16.5 x 4.5 in |
| Four rows joined | 4 x 4.5 in, less 3 seams x 1/2 in | 16.5 x 16.5 in front |
| Each back panel, cut | same width as the front | 16.5 x 11.5 in |
| Each back panel, hemmed | 11.5 in, less a 1 in double hem | 16.5 x 10.5 in |
| Overlap of back panels | 10.5 + 10.5 – 16.5 in | 4.5 in |
| Finished cover | 16.5 in, less 1/4 in on each side | 16 x 16 in |
Each square finishes at 4 inches, and four of them across make the 16-inch cover.
Materials and cutting list
- 16 squares, each 4.5 x 4.5 inches (11.5 x 11.5 cm), from assorted scraps
- 2 back panels, each 16.5 x 11.5 inches (42 x 29 cm)
- Optional: thin cotton batting or lightweight fusible interfacing, 16.5 x 16.5 inches, to back the patchwork
- A 16-inch (40.5 cm) cushion insert
- Thread, pins or clips, iron, rotary cutter, ruler and mat
Quilting-weight cottons of a similar thickness are easiest. Mixing a thin lawn with a heavy linen in the same row makes seams hard to match. If the scraps are odd shapes, the guide to cutting small fabric scraps shows how to square them up accurately.
Step 1: Plan the layout
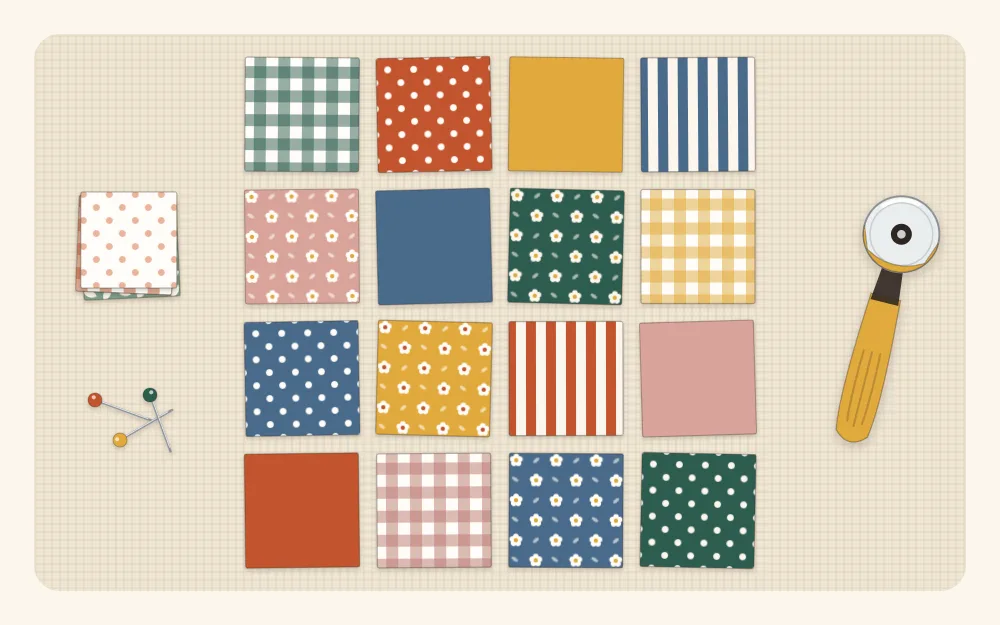
Arrange the sixteen squares in four rows of four on a flat surface. Move them around until no two identical prints touch and the lights and darks are spread evenly. A checkerboard of light and dark squares is the simplest reliable plan; a diagonal run of one color is another. Stand back, or take a phone picture and look at it small, to spot clumps. There is more on balancing a mixed pile in combining scrap fabric colors.
Step 2: Sew the rows
- Take the first two squares of row one, place them right sides together and sew down one side with a 1/4-inch seam.
- Add the third and fourth squares the same way. Sew the other three rows, keeping them in order. Stacking each row with a numbered pin through it helps.
- Press the seams of rows one and three to the left, and the seams of rows two and four to the right.
- Measure a row. It should be 16.5 inches long. If it is shorter, the seams are slightly too wide; adjust before sewing the rest.
Step 3: Join the rows
- Place row one on row two, right sides together. Because the seams were pressed in opposite directions, they lock against each other. Pin at each of the three seam junctions, then at the ends.
- Sew the long edge with a 1/4-inch seam, removing pins as the needle reaches them.
- Add rows three and four in the same way.
- Press the three long seams all in one direction, or open if they feel bulky. Press the front from the right side as well.
- Measure the front. It should be 16.5 inches square. Trim only to straighten the edges, taking the same sliver from each side.
The method of pressing seams in opposite directions and nesting them is explained in more detail in patchwork for beginners.
Tip
For a sturdier cover, lay the finished front on the batting or fuse the interfacing to its back, then stitch 1/4 inch to each side of every seam, or straight along the seam lines. This quilting holds the seam allowances flat through repeated washes.
Step 4: Hem the back panels
- On one 16.5-inch edge of a back panel, fold 1/2 inch to the wrong side and press.
- Fold another 1/2 inch, enclosing the raw edge, and press again.
- Stitch close to the inner fold. The panel now measures 16.5 x 10.5 inches.
- Repeat with the second panel. With a directional print, hem the bottom edge of one panel and the top edge of the other so both read the right way up.
Step 5: Assemble the envelope back
- Lay the patchwork front right side up.
- Place the first back panel on it right side down, raw edges matching the top and sides of the front, with the hemmed edge lying across the middle.
- Place the second panel right side down, raw edges matching the bottom and sides. The two hemmed edges overlap by 4.5 inches across the center.
- Pin or clip all the way around, with extra pins where the panels overlap at the sides.
- Sew around all four sides with a 1/4-inch seam, pivoting at the corners and backstitching over the overlaps for strength.
- Clip the four corners diagonally, staying a few threads away from the stitching. Zigzag or overcast the raw edges together to stop fraying.
- Turn the cover right side out through the envelope opening, push out the corners gently with a blunt tool, and press.
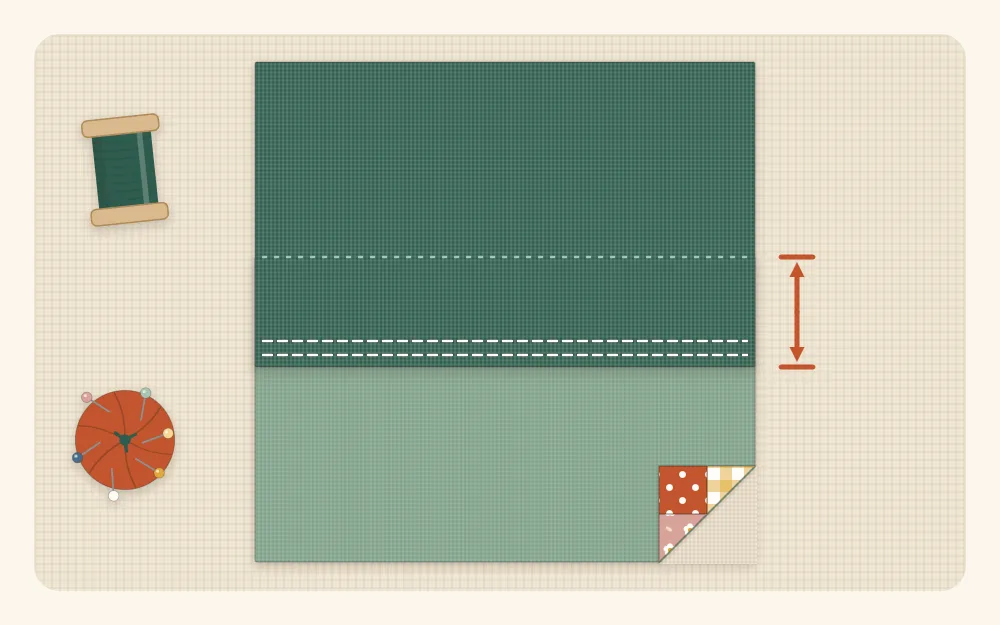
The panel that was laid down first ends up on the outside of the finished back. Insert the cushion through the opening, working it into each corner.
Watch out
Rotary cutter blades are extremely sharp. Close the guard after every cut and keep fingers behind the edge of the ruler. Test the iron on a scrap first when mixing fabrics of unknown fiber content.
Common mistakes
- Front smaller than 16.5 inches. Seams are wider than 1/4 inch. Each seam that is 1/16 inch too wide loses 1/8 inch, so the three seams in a row lose 3/8 inch across the front. Sew a test pair and measure.
- Seam junctions that do not meet. Rows were pressed the same way, so the seams could not nest. Re-press and pin at every junction.
- A gaping back. The overlap is too small. Keep at least 4 inches of overlap on a 16-inch cover.
- Rounded, floppy corners. The cover is larger than the insert. For a plumper cushion, use an insert one size up, about 18 inches.
Variations and other sizes
- Back from a fat quarter: cut two panels 16.5 x 11 inches from the 22-inch length. Hemmed, they are 10 inches each and overlap by 3.5 inches, which still holds but benefits from a button or snap at the center.
- 18-inch cover from 5-inch squares: sixteen 5-inch squares make an 18.5-inch front. Cut back panels 18.5 x 12.5 inches for a 4.5-inch overlap.
- 18-inch nine-patch: nine 6.5-inch squares in a three-by-three grid also make an 18.5-inch front.
- Pieced squares: replace some plain squares with 4.5-inch crumb quilting blocks made from the smallest leftovers.
Frequently asked questions
How many squares are needed for a 16-inch cushion cover?
Sixteen squares cut at 4.5 inches, sewn in four rows of four with 1/4-inch seams. Each square finishes at 4 inches, giving a 16.5-inch front that finishes at 16 inches once the cover is sewn.
What size should the envelope back pieces be?
Two panels, each 16.5 x 11.5 inches. A 1-inch double hem on one long edge of each leaves them 10.5 inches high, so they overlap by 4.5 inches across the back.
Should the cover be the same size as the cushion insert?
A 16-inch cover fits a 16-inch insert. For a firmer, fuller cushion, many sewists use an insert one size larger, about 18 inches, in the same cover.
Does a patchwork cushion front need to be quilted?
It is optional. Backing the patchwork with thin batting or lightweight interfacing and stitching along the seams helps the seam allowances stay flat and makes the cover more durable in the wash.