Scrap Fabric Pincushion: A Simple Square Patchwork Tutorial
Make a plump 4-inch patchwork pincushion from five small squares, choose the right stuffing and close it neatly with a ladder stitch.
Project at a glance
Materials
- 4 top squares, 2 1/2 in (6.5 cm)
- 1 backing square, 4 1/2 in (11.5 cm)
- Stuffing: polyester fiberfill, crushed walnut shells, wool scraps or fabric trimmings
- Machine thread
- Hand needle and strong matching thread
- Pins or clips
- Iron
- Blunt turning tool such as a chopstick
- Optional: muslin for an inner bag, a button for tufting
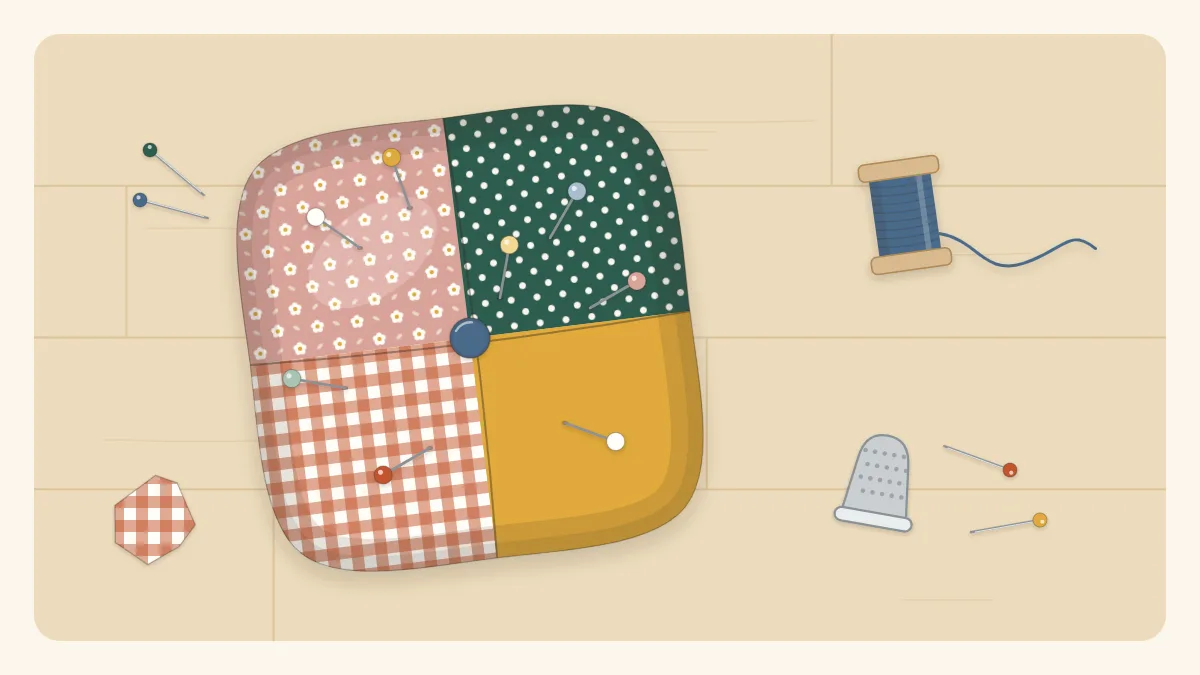
Five small squares and a handful of stuffing are all it takes to make a scrap fabric pincushion. It is a tool you will use every time you sew, it practices three core skills in miniature (matching a seam, turning a shape, closing by hand), and it is small enough to finish in one sitting. This version is a plump 4-inch (10 cm) square with a four-patch top.
Materials and cutting list
| Piece | Cut | Size |
|---|---|---|
| Top squares, assorted prints | 4 | 2 1/2 x 2 1/2 in (6.5 x 6.5 cm) |
| Backing square | 1 | 4 1/2 x 4 1/2 in (11.5 x 11.5 cm) |
You will also need:
- Stuffing (the choices are compared below)
- Machine thread, plus a hand needle and strong thread in a color that matches the fabric
- Pins or clips, an iron and a blunt turning tool such as a chopstick
- Optional: a button and a long needle for tufting the center
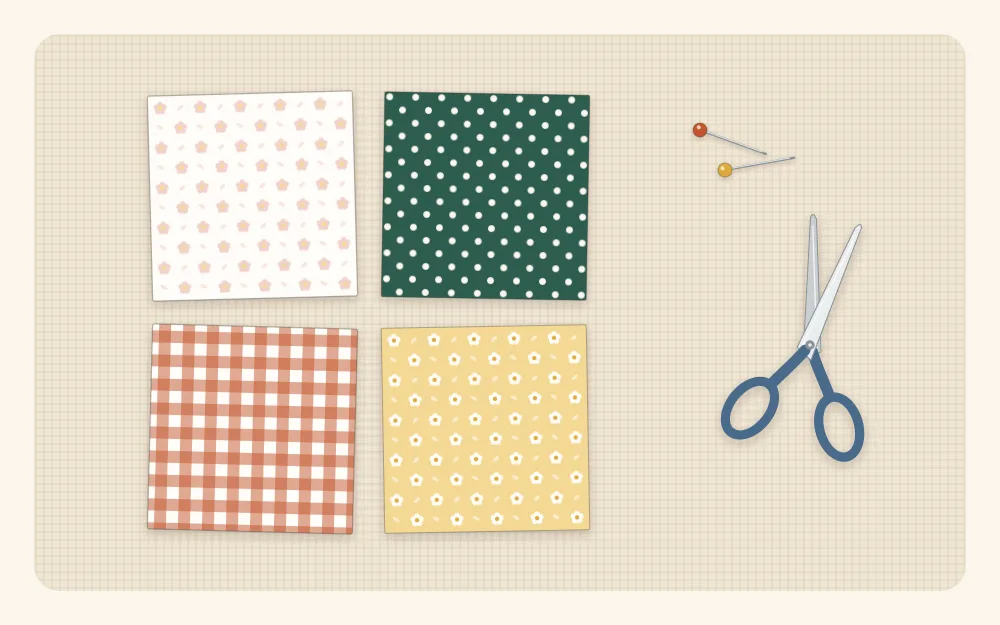
Use tightly woven cotton. Loose weaves let stuffing work its way out and leave visible holes where pins have been. For the top, pick two lighter and two darker squares and place them diagonally opposite each other for a classic checkerboard four-patch.
How to sew the pincushion
- Sew two pairs. Place two squares right sides together and sew along one edge with a 1/4-inch seam allowance. Repeat with the other two. Each pair measures 2 1/2 by 4 1/2 inches.
- Press. Press the seam of each pair toward the darker square. In a checkerboard layout, the two seams will then point in opposite directions.
- Join the pairs. Place the pairs right sides together. Push the center seams against each other until they lock, pin right at that point, and sew along the long edge with a 1/4-inch seam. Press. The four-patch should measure 4 1/2 inches square.
- Add the backing. Lay the backing square on the four-patch, right sides together, and pin.
- Sew around the edge. Start on one side, about 1 inch from a corner, and backstitch. Sew around all four corners with a 1/4-inch seam allowance, pivoting with the needle down, and stop when you have left a 2-inch (5 cm) gap on the side where you began. Backstitch again. Keeping the gap in the middle of a side, not at a corner, makes it much easier to close.
- Clip the corners. Trim each corner diagonally, close to the stitching without cutting it.
- Turn. Turn the pincushion right side out through the gap. Push out the corners gently and press, folding the gap’s seam allowances to the inside so the edge runs straight.
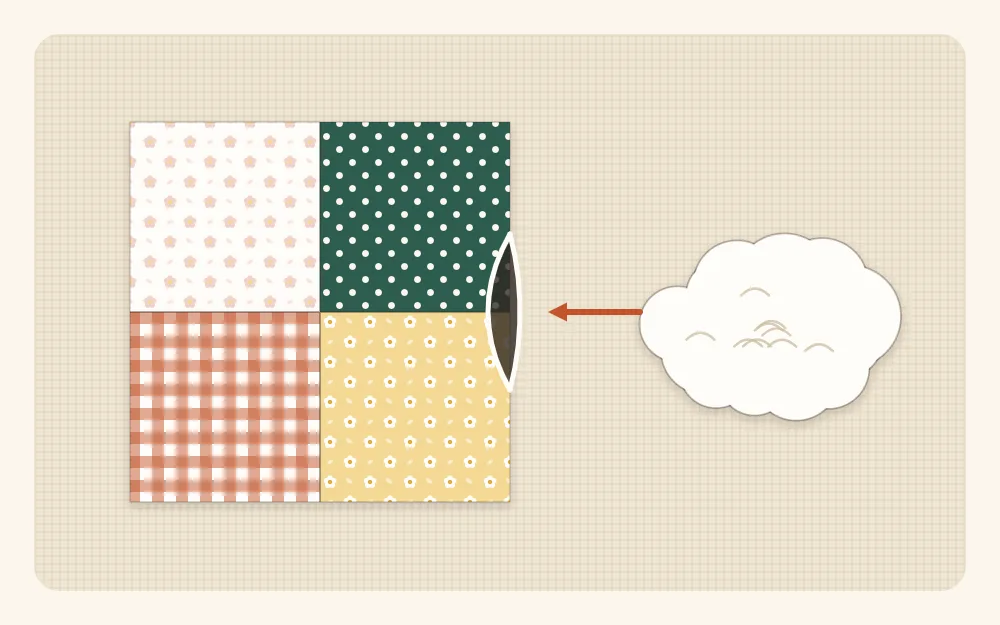
- Stuff. Fill the corners first, using small pieces of stuffing and the blunt tool, then fill the middle. Keep going until the pincushion is firm and domed. An under-stuffed pincushion lets pins sink through to the other side.
- Close with a ladder stitch. See the steps below.
Stuffing choices
| Filling | Feel | Good to know |
|---|---|---|
| Polyester fiberfill | Light and springy | Easy to find and to work with. Pack it tightly or the pincushion will be too soft to hold pins upright. |
| Crushed walnut shells | Heavy and firm | Stays put on the table and holds pins securely. Fill with a small funnel. Not suitable for households with nut allergies. |
| Wool scraps or wool roving | Dense, slightly springy | Snip woven wool scraps into small pieces first. A traditional pincushion filling. |
| Fabric and thread trimmings | Firm, a little lumpy | Cut trimmings small and pack them hard. Free, and it empties the snips jar. |
Fine, grainy fillings such as crushed shells can sift through the seams. For those, sew a simple inner bag from two 4-inch (10 cm) squares of tightly woven cotton or muslin, fill it, stitch it shut and slip it inside the pincushion before closing. Saving trimmings for stuffing is one of several ideas in what to do with tiny fabric scraps.
Watch out
A loaded pincushion is not a toy. Keep it out of reach of small children and pets, and count your pins back in at the end of a sewing session.
Closing with a ladder stitch
The ladder stitch, also called a slip stitch or invisible stitch, pulls two folded edges together so the thread disappears.
- Thread a hand needle with about 18 inches (45 cm) of strong thread and knot the end.
- Bring the needle up from inside the gap, through the fold on one side, right at one end of the opening. The knot is now hidden inside.
- Go straight across to the opposite fold. Insert the needle into the fold, slide it along inside the fold for about 1/8 inch (3 mm) and bring it out.
- Cross straight back to the first side and take the same small stitch inside that fold.
- Repeat, working along the gap. The threads crossing the opening look like the rungs of a ladder.
- Every few stitches, pull the thread snug. The rungs vanish and the folds close together.
- At the end, make a tiny knot in the seam, push the needle into the pincushion, bring it out an inch away, and snip the thread close to the surface so the tail slips back inside.
Tip
Add a last pinch of stuffing when the gap is almost closed. The area by the opening is always the last to fill, and topping it up keeps that side as plump as the others.
Common mistakes
- Center seams do not meet. Unpick an inch either side of the center, lock the seams together again and pin exactly on the join before resewing.
- Pointy, dog-eared corners. Stuff the corners more firmly, or sew one or two stitches diagonally across each corner instead of a sharp pivot.
- Visible closing stitches. Keep ladder stitches small and directly opposite each other, and use thread that matches the fabric.
Variations
- Tufted center. With a long needle and doubled strong thread, stitch down through the center and back up several times, pulling firmly, to make a dimple. Add a button on top if you like; buttons are small parts and not for children under three.
- Nine-patch top. Use nine 2-inch (5 cm) squares for a 5-inch block and cut the backing 5 inches square. The finished pincushion is 4 1/2 inches.
- Crumb top. Replace the four-patch with a 4 1/2-inch square of improvised piecing, made as described in crumb quilting blocks.
- Single-fabric top. Cut one 4 1/2-inch square that frames a favorite motif.
The four-patch at the heart of this project is the first block most quilters learn. To take it further, patchwork for beginners covers chain piecing, pressing and the nine-patch.
Frequently asked questions
What is the best stuffing for a pincushion?
It depends on the feel you want. Polyester fiberfill is light and easy to find but must be packed tightly. Crushed walnut shells are heavy and firm, so the pincushion stays put. Wool scraps or roving give a dense, traditional filling. Fabric and thread trimmings are free and work well when cut small and packed hard.
How do I stop crushed walnut shells leaking out of the seams?
Sew a simple inner bag from tightly woven cotton or muslin, fill it with the shells, stitch it closed and slip it inside the pincushion before closing the outer gap. Crushed walnut shells are not suitable for households with nut allergies.
How firmly should a pincushion be stuffed?
Very firmly. Fill the corners first, then the middle, until the pincushion is domed and resists a squeeze. If it is too soft, pins lean over or sink through to the other side.